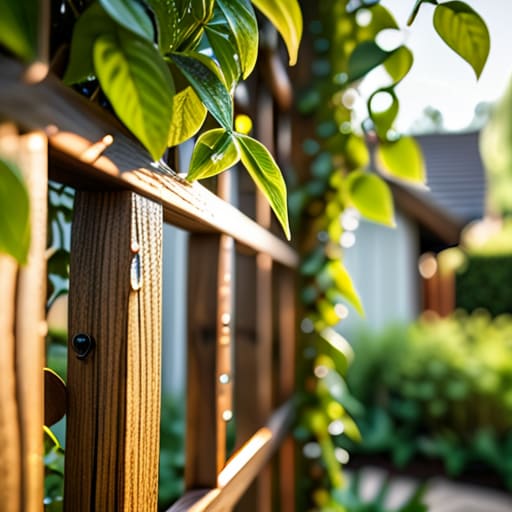
I was standing in my tiny backyard last July, staring at a literal jungle of tomato vines that had decided to colonize my entire patio, when I realized I’d failed them. I had spent way too much money on those flimsy, plastic store-bought supports that snap the second a heavy breeze hits, and honestly, it was a mess. If you’re currently staring at a pile of sprawling, sad-looking plants, let me tell you: you don’t need a massive budget or a professional landscaping degree to fix this. Learning how to build a garden trellis is actually one of those low-stakes DIY projects that feels incredibly rewarding once you stop fighting the chaos.
I’m not here to give you some over-engineered blueprint that requires a workshop full of power tools. Instead, I’m going to show you a few dead-simple, budget-friendly methods using basic materials you can probably find at a local hardware store (or even scavenge from your garage). We’re going to focus on structures that are actually sturdy enough to hold real weight without looking like an eyesore. By the end of this, you’ll have a functional, aesthetic setup that lets your plants climb instead of crashing your garden party.
Guide Overview
Tools & Supplies
- Measuring tape for accurate cuts
- Hand saw or miter saw for timber
- Drill/driver for assembly
- Screwdriver for manual tightening
- 4 wooden stakes (approx. 4-5ft each)
- 1 pack of wooden garden trellis panels or lattice
- Pack of exterior-grade wood screws
- Garden staples or zip ties for securing
Step-by-Step Instructions
- 1. First, let’s talk supplies. You don’t need to wander the aisles of a massive hardware store for three hours, but you do need a few basics. Grab some wooden stakes (cedar is best because it won’t rot immediately), a roll of sturdy twine or jute, and a pair of garden shears. If you’re feeling extra prepared, grab a small pack of zip ties—they are absolute life savers when you’re trying to secure things quickly.
- 2. Scout your location. Don’t just stick a pole in the dirt and hope for the best. Find the spot where your climbing plants (looking at you, peas and jasmine) are actually trying to go. Make sure the ground is relatively level so your trellis doesn’t end up looking like the Leaning Tower of Pisa two weeks from now.
- 3. Get those stakes in the ground. Drive your main vertical stakes into the soil, leaving enough height so your plants have room to actually climb. If you want a more “aesthetic” look, you can angle two stakes toward each other to create an A-frame shape. Just make sure they are firmly planted so a heavy rainstorm doesn’t turn your garden into a pile of fallen wood.
- 4. Now comes the “webbing” part. Take your twine and start tying it between the stakes. You can go for a classic grid pattern or a more organic, crisscross look—honestly, the crisscross method is way more forgiving if your measurements aren’t perfect. Just keep the tension even so the twine doesn’t sag and become a tripping hazard for your plants.
- 5. Secure the knots. Every time you wrap the twine around a stake, tie a solid knot. I usually do a double knot because I’ve learned the hard way that nature loves to undo my work. If you’re using the zip tie hack I mentioned earlier, use those to anchor the twine to the stakes to save your fingers from getting tired.
- 6. Guide your plants into the fray. Once the structure is up, gently take your climbing vines and weave them through the twine. You aren’t forcing them; you’re just giving them a clear path to follow. If they seem stubborn, you can use a tiny bit of soft garden tape to help them find their footing.
- 7. The final check. Give the whole structure a very gentle shake. If it wobbles significantly, you need to push those stakes deeper or add a cross-brace. It’s much easier to fix it now than to try and rebuild the whole thing once your plants have already taken over the yard.
Smart Wooden Trellis Design Ideas for Busy People
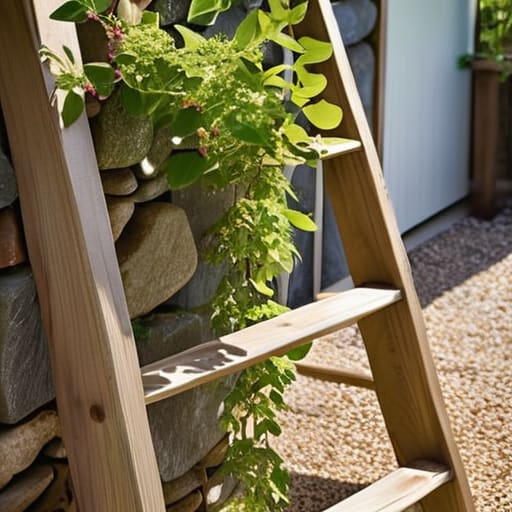
If you’re anything like me, you don’t want a weekend-long construction project; you just want your plants to stop looking like they’re staging a slow-motion takeover of your patio. One of my favorite wooden trellis design ideas is the “leaning ladder” style. Instead of drilling everything into a wall or digging deep post holes, you just build a simple A-frame or a leaning ladder structure. It’s incredibly low-maintenance, and if you decide you want to rearrange your space next season, you aren’t stuck with permanent holes in your deck.
For those of us working with tiny balconies or limited square footage, I highly recommend leaning into vertical gardening techniques. You can use scrap wood or even thin cedar slats to create a lightweight grid that attaches directly to a railing or a small planter box. This keeps your footprint small while giving your climbers plenty of room to thrive. It’s all about finding that balance between a structure that looks intentional and one that doesn’t require a professional landscaping degree to maintain.
Essential Garden Trellis Materials List to Save You Time
Before you go running to the hardware store and panic-buying half the aisle, let’s get real: the goal here is efficiency, not a shopping spree. When you’re putting together your garden trellis materials list, keep it simple. I’m a huge fan of cedar or redwood because they handle moisture like a pro without needing constant chemical treatments, which is a lifesaver if you’re growing things you actually plan to eat. If you’re on a tighter budget, pressure-treated pine works too, just make sure you’re mindful of where it touches your soil.
Don’t forget the small stuff that usually trips people up mid-project. You’ll want heavy-duty galvanized screws—not those flimsy nails that pop out the second a heavy vine starts pulling on the frame—and some sturdy zip ties or garden twine to secure everything. If you’re planning on more complex climbing plant support structures, grab a few extra brackets or some landscape staples to keep the base from shifting. Getting these basics right the first time means you won’t be halfway through the build, covered in dirt, realizing you’re missing the one thing that actually holds the whole thing together.
Three Things I Wish I Knew Before I Started Hammering
- Don’t skimp on the hardware. I learned the hard way that cheap nails will rust and pop out within a single season, leaving your vines to crash to the ground. Use galvanized or stainless steel screws instead; it’s a tiny bit more effort upfront, but you won’t be rebuilding this in July.
- Think about the “weight factor” early on. If you’re planning on growing something heavy like squash or even just dense ivy, a flimsy little lattice isn’t going to cut it. Build for the plant you want, not just the one you have right now, or you’ll be fighting a structural collapse by mid-summer.
- Give yourself a little breathing room from the wall. If you’re attaching your trellis to a fence or a house, leave a small gap for airflow. If you jam it right up against a surface, you’re basically creating a damp, moldy zone that’s going to make your plants (and your siding) really unhappy.
The TL;DR on Not Ruining Your Weekend
Don’t overthink the aesthetics; as long as the structure is sturdy and the materials are weather-resistant, your plants won’t care if it looks “Pinterest-perfect.”
Prioritize stability over complexity—a simple, well-anchored design is way better than a fancy one that collapses the first time it actually rains.
Final Thoughts Before You Get Dirty
At the end of the day, building a trellis doesn’t have to be this massive, intimidating weekend project that leaves you staring at a pile of expensive lumber in confusion. Whether you went with a minimalist wooden frame or a quick DIY hack to save some cash, the goal was simply to give those vines a place to actually thrive instead of letting them take over your entire patio. You’ve got your materials, you’ve got your design, and most importantly, you’ve got a plan that doesn’t involve a professional contractor or a massive headache.
I know that “adulting” often feels like one long list of things we aren’t quite qualified to do, but look at you—you just built something functional from scratch. Don’t sweat it if your trellis isn’t perfectly level or looks a little “rustic” right out of the gate. Gardening is supposed to be a bit messy, and the most important part is that you took the leap and actually started. Now, go grab a drink, sit in your garden, and enjoy the view.
Frequently Asked Questions
How do I stop my trellis from leaning or sinking into the dirt after the first big rain?
Ugh, the post-rain lean is the absolute worst. It feels like your hard work is just slowly melting into the mud. Honestly? It’s usually because your stakes aren’t deep enough or the soil is too soft. To fix this, drive some heavy-duty metal rebar deeper into the ground next to your wooden posts for extra stability. Also, if you’re in a high-moisture area, try adding a bit of gravel at the base to help with drainage.
Is there a way to build something sturdy without having to own a whole workshop of power tools?
Honestly, same. I don’t have the space (or the budget) for a garage full of heavy machinery. You can totally skip the power tools if you play it smart. Grab a manual screwdriver, a decent pair of heavy-duty shears, and some sturdy zip ties or galvanized wire. If you use pre-drilled wood or even just lash bamboo poles together, you can build something incredibly solid without ever needing to plug anything into a wall.

