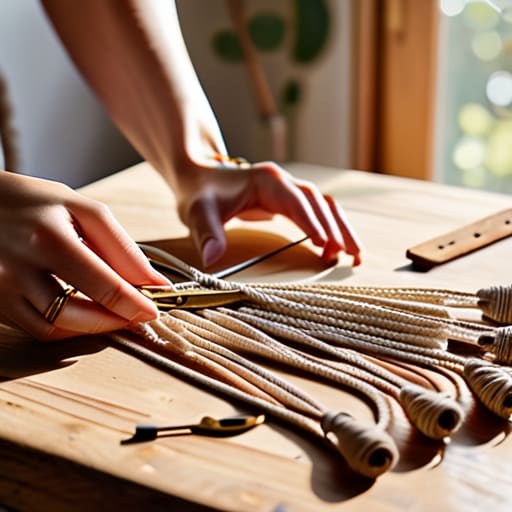
I was sitting on my floor at 11 PM, surrounded by a literal bird’s nest of tangled cotton cord and a mounting sense of regret, wondering why every “easy” tutorial made it look so effortless. I thought I needed a studio full of expensive tools and a PhD in knot-tying to actually make something pretty, but that’s a total lie. Learning macrame for beginners doesn’t require a massive budget or a perfect aesthetic; it just requires knowing which knots are actually worth your time and which ones are just designed to frustrate you.
I’m not here to give you a twenty-step masterclass that leaves you feeling more overwhelmed than when you started. Instead, I’ve distilled this down to the absolute essentials: the three knots you’ll actually use, how to pick cord that won’t drive you insane, and a way to finish your first project without a total meltdown. We’re going to skip the fluff and get straight to the functional, beautiful stuff that actually makes your space feel like home.
Guide Overview
Tools & Supplies
- Scissors for cutting cord
- Measuring tape for length accuracy
- S-hooks or clothespins to hold work
- Cotton macrame cord (3mm or 4mm) 1-2 rolls
- Wooden dowel or ring 1 piece
Step-by-Step Instructions
- 1. First things first, you need to clear a little bit of space on your desk or table. You don’t need a professional studio, but you definitely need a way to hold your cords steady while you work. If you don’t have a dedicated macrame stand, just grab a heavy piece of tape or a command hook to hang your work from. The goal is to have your cords hanging freely so you aren’t fighting against your own desk while trying to tie a knot.
- 2. Grab your supplies—and please, don’t go out and buy the most expensive, heavy-duty cord right away. Start with a single strand of 3mm or 4mm cotton cord in a neutral color. It’s much easier to learn the tension when the cord isn’t fighting you. You’ll also want a pair of sharp scissors (not the dull ones from your junk drawer) and a measuring tape. Trust me, measuring twice will save you from having a tiny, sad-looking plant hanger halfway through the project.
- 3. Once you have your cord cut and ready, it’s time to master the “Lark’s Head Knot.” This is basically how you attach your string to your ring or dowel. Fold your cord in half to create a loop, place that loop over your dowel, and then pull the two loose ends through that loop. It sounds a bit repetitive when I say it, but once you do it three times, your hands will just start doing it on autopilot.
- 4. Now we’re getting into the actual “knotting” part, and the absolute king of macrame is the Square Knot. To do this, you’ll take four strands of cord. Take the two outer cords and use them to tie a knot around the two middle (stationary) cords. The trick is to make sure you don’t pull too tight on one side, or your whole project will start looking like a twisted pretzel. Just keep your tension even and steady.
- 5. After you’ve done a few square knots, you’ll want to try a “Half Hitch” to create those pretty diagonal lines or borders you see on Pinterest. Instead of tying a knot around the middle cords, you’re going to wrap the working cord around the entire group of cords. It’s a bit more technical, but it’s what gives your piece that structured, intentional look rather than just looking like a bunch of tangled string.
- 6. As you move through your project, don’t panic if your knots look a little wonky or uneven. I spent my first three hours making a piece that looked more like a bird’s nest than a plant hanger. If you mess up, just untie it and start that section over. It’s way better to spend an extra ten minutes fixing a knot now than to realize at the very end that your entire design is lopsided.
- 7. Finally, once you’ve reached the bottom of your design, it’s time for the big finish: trimming. Instead of just cutting the cords straight across, try cutting them into a v-shape or a soft curve to give it a more professional, finished vibe. Take a quick look at your work, shake it out to let the cords settle, and suddenly, you’ve actually made something beautiful with your own two hands.
The Essential Macrame Supplies Your Sanity Deserves
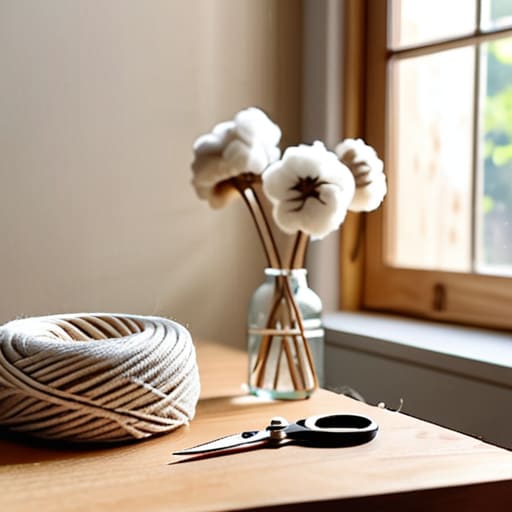
Look, I’ve been there—standing in the craft aisle feeling totally overwhelmed by every single shade of beige, wondering if I actually need a $50 kit just to make one plant hanger. Truthfully? You don’t. When it comes to essential macrame supplies, the only thing you actually need is a decent pair of sharp scissors (mine are literally on my keychain for a reason) and a way to hang your work while you knot, like a command hook or a wooden dowel.
The real game-changer, though, is picking the right macrame cord types. If you grab something super thin and synthetic, you’ll spend your entire evening fighting tangles and frustration. I always recommend starting with a 3mm or 4mm cotton cord; it’s forgiving, holds its shape, and won’t make you want to throw your project across the room. Once you get the hang of a basic square knot tutorial, having high-quality cord makes the whole process feel more like a vibe and less like a chore.
Choosing Macrame Cord Types to Avoid the Mess
Look, I’ve spent way too many Friday nights untangling a bird’s nest of cheap, fuzzy string because I thought I was being “thrifty.” When you’re just starting out, the sheer variety of macrame cord types can feel overwhelming, but the wrong choice will turn your relaxing hobby into a chore. If you want to keep your sanity, stay away from the super thin, slippery synthetic cords for now. They have a mind of their own and will make every single knot a struggle.
For your first macrame wall hanging project, I highly recommend sticking with a 3mm or 4mm single-twist or braided cotton cord. Single-twist has that gorgeous, boho texture, but it can fray if you’re a bit heavy-handed. If you’re like me and tend to get a little impatient, braided cotton is your best friend—it holds its shape beautifully and won’t unravel while you’re mid-knot. Grab something sturdy, keep it simple, and save the experimental stuff for when you aren’t already fighting the urge to throw your multi-tool across the room.
Three Ways to Keep Your Macrame Project From Becoming a Total Headache
- Don’t try to wing it with kitchen scissors; grab a decent pair of fabric shears or sharp craft scissors. There is nothing more soul-crushing than spending an hour on a beautiful knot only to have your cord fray into a fuzzy mess because your cutting tool was dull.
- Tape your working cords to the edge of your desk or a heavy table. I used to try holding everything in place with one hand while knotting with the other, and let me tell you, it’s a one-way ticket to frustration city. A little painter’s tape keeps everything steady so you can actually focus on your tension.
- Embrace the “oops” and undo it. If your knot looks wonky or your spacing is totally off, don’t just keep going and hope it disappears—it won’t. Just untie it, take a breath, and try again. Macrame is way more forgiving than it looks, and your sanity is worth the extra five minutes of re-doing a row.
The TL;DR for Your First Project
Don’t get paralyzed by the fancy stuff; start with a single, decent cotton cord and one basic knot to build your confidence before you dive into the expensive, multi-colored aesthetic cord.
Expect a little chaos—your floor will get messy and your hands might get tired, but as long as you have a way to hang your work while you’re knotting, you’re already ahead of the game.
Don't Sweat the Small Stuff
Look, if your first attempt looks more like a bird’s nest than a boho masterpiece, you’re doing just fine. We’ve covered the essentials: picking the right cord so you aren’t fighting a losing battle with fraying fibers, grabbing the basic supplies that actually matter, and mastering those few foundational knots. The goal isn’t to achieve instant perfection; it’s about getting those hands moving and building a bit of creative muscle memory without losing your mind in the process. Just remember that a little bit of patience goes a long way when you’re dealing with a pile of cotton cord.
At the end of the day, macrame is just another way to reclaim a little bit of calm in a world that feels way too loud. Whether you’re making a tiny keychain or a massive wall hanging, you’re creating something with your own two hands, and that’s a huge win for your sanity. So, take a breath, embrace the tangles, and just keep knotting. You’ve totally got this.
Frequently Asked Questions
How do I stop my knots from looking super uneven and messy?
The “uneven knot” struggle is so real—I used to think my hands were just broken. Honestly? It’s usually just tension. If you pull one knot tight and the next one loose, it’s going to look chaotic. My hack: use a piece of masking tape on your workspace to mark consistent intervals, or better yet, use a comb to measure the length of each knot as you go. Slow down, breathe, and keep that tension consistent.
Do I actually need a wooden dowel, or can I just hang this from a thrifted branch?
Honestly? A thrifted branch is actually better. Using a wooden dowel is fine if you want that super clean, minimalist look, but a branch adds so much character and fits my “lived-in” aesthetic perfectly. Just make sure you give it a good scrub and let it dry completely before you start tying knots, otherwise, you’re basically inviting mold into your decor. It’s cheaper, looks more intentional, and saves you a trip to the craft store.

