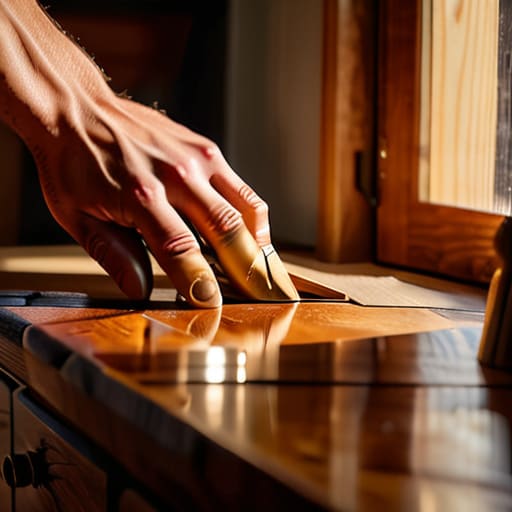
I was halfway through a massive, tearful meltdown in my tiny studio apartment, staring at a thrifted mid-century nightstand that looked more like a crime scene than a piece of decor. I had spent way too much money on it, and the original finish was so scratched and dingy that I was convinced I’d just bought a very expensive pile of firewood. But here’s the thing about learning how to refinish furniture: you don’t need a professional workshop or a degree in woodworking to make something old look intentional and high-end. You just need a little bit of patience and the right sequence of steps so you don’t end up with a sticky, uneven mess.
I’m not going to give you a lecture on chemical compositions or suggest you buy tools that cost more than your monthly rent. Instead, I’m breaking this down into a realistic, low-stress workflow that actually fits into a busy schedule. We’re going to cover everything from the best way to prep your surface without losing your mind, to picking finishes that actually last through daily life. Let’s turn that “eyesore” into your new favorite piece without the unnecessary drama.
Guide Overview
Tools & Supplies
- Sandpaper (various grits for smoothing)
- Screwdriver (for removing hardware)
- Paintbrush or foam roller (for application)
- Tack cloth (for removing dust)
- Wood filler (small container for repairs)
- Primer (1 quart for base coat)
- Paint or stain (1 quart for finish)
- Sanding block (1 piece for even pressure)
Step-by-Step Instructions
- 1. First things first, you have to clear your workspace and prep the area. I’m talking more than just moving a chair; you need a flat surface and a good ventilation setup. If you’re working inside, crack a window or grab a fan. Trust me, the smell of stripper or stain is not the vibe you want lingering in your apartment for three days straight.
- 2. Now, we get into the messy part: stripping the old finish. Depending on how much energy you have, you can either go the sandpaper route or use a chemical stripper. If the piece is an old thrift store find with layers of thick, crusty paint, a chemical stripper is going to save your sanity. Just apply it, let it work its magic, and scrape away the gunk with a putty knife until you see the actual wood grain.
- 3. Once the old stuff is gone, it’s time to sand. This is where people usually rush and end up with a textured nightmare, so please don’t skip this. Start with a coarser grit (like 80 or 100) to smooth out the deep scratches, then move up to a finer grit (like 220) to get that buttery-smooth finish. Always sand in the direction of the grain so you don’t leave permanent swirl marks that will haunt you later.
- 4. Before you even think about touching a stain or paint, you have to wipe away every single speck of dust. I use a tack cloth or a slightly damp microfiber cloth for this. If you leave even a tiny bit of sawdust behind, your finish will look bumpy and amateur. It’s a small step, but it’s the difference between a “DIY project” and something that actually looks professionally done.
- 5. Now for the fun part: adding color. If you’re going for a natural look, apply your wood stain with a rag or a foam brush, following the grain. If you’re painting, I highly recommend a high-quality primer first—especially if you’re working with a dark wood. It prevents the old color from bleeding through and ensures your topcoat looks even and intentional rather than blotchy.
- 6. Finally, you need to seal the deal with a topcoat. Whether you choose a matte poly, a satin, or a wax, this is what protects your hard work from coffee rings and scratches. Apply it in thin, even layers rather than one thick, gloppy coat. If you go too heavy, you’ll get drips, and nothing kills the aesthetic faster than a permanent drip on your new coffee table.
Mastering Wood Stripping Techniques Without the Chaos
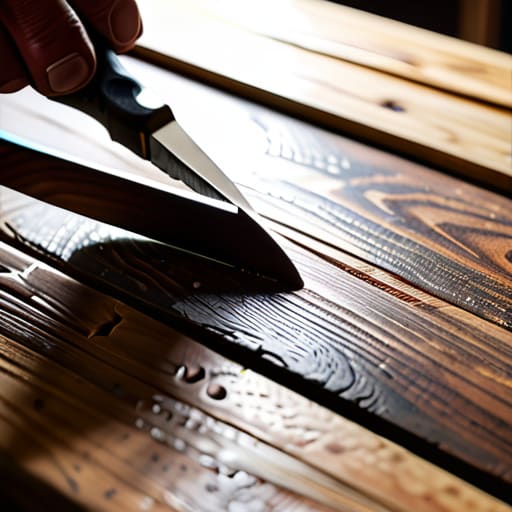
Look, I get it—the idea of chemical strippers sounds like a recipe for a toxic kitchen disaster. But if you want to avoid spending six hours aggressively sanding away layers of crusty, 90s-era finish, you need to embrace a few smarter wood stripping techniques. Instead of fighting the wood, let the chemicals do the heavy lifting. I always recommend applying the stripper in thick, even layers and—this is the part everyone forgets—actually letting it sit. If you try to scrape it while it’s still tacky, you’re just going to end up with a gummy mess that makes your life ten times harder.
Once you’ve finished removing old varnish, your next move is all about the transition. This is where most people lose their cool because they jump straight to a high-grit sandpaper and wonder why the wood looks scratched. You have to respect the process of wood grain preparation. Start with a lower grit to smooth out the unevenness left by the stripper, and gradually work your way up. Think of it like skincare: you wouldn’t jump straight to a harsh exfoliant without prepping your face first. Take it slow, and your final finish will actually look professional rather than “I tried this on a Sunday afternoon.”
The Ultimate Furniture Sanding Grits Guide for Sanity
Look, I know looking at a massive pile of sandpaper feels like a personal attack, but trust me: skipping steps here is how you end up with a piece that looks like it was chewed on by a dog. This furniture sanding grits guide isn’t about being a perfectionist; it’s about not making your life harder later. Start coarse (around 80 grit) if you’re dealing with heavy damage or removing old varnish that’s stubbornly clinging to the surface. Once you’ve leveled things out, move to medium (120 grit) to smooth the bumps, and always, always finish with a fine grit (220) to prep for the finish.
The biggest mistake I see? Moving too fast. If you jump from 80 straight to 220, you’re going to see those deep scratches under your stain, and that is a total vibe killer. Think of it as wood grain preparation—you’re essentially smoothing the path so your stain can sit evenly. Take your time with the transitions. If you do the grunt work right now, you won’t be crying over uneven patches when you’re finally applying wood stain tips later.
Three Pro Moves to Save Your Sanity (and Your Furniture)
- Don’t skip the tack cloth step; I know it feels extra, but if you leave even a microscopic layer of dust behind, your new finish is going to look like it has sandpaper stuck in it.
- Test your stain on a hidden spot first, like the back of a leg or the underside of a drawer, because what looks “aesthetic” on the swatch might look totally different once it hits your specific wood grain.
- Work in small, manageable sections rather than trying to tackle the whole piece at once; it’s way easier to control the flow of stain or oil when you aren’t racing against a drying clock.
The TL;DR for a Stress-Free Refinish
Don’t rush the prep work; spending extra time on a clean, properly sanded surface is the only way to avoid a massive headache once you start applying the finish.
Protect your space and your lungs—wear a decent mask and lay down some drop cloths so your DIY project doesn’t turn into a full-blown apartment disaster.
The Finish Line (and Your New Favorite Piece)
Look, I know it probably feels like you’ve spent your entire weekend covered in a fine layer of sawdust and chemical stripper, but you actually did it. We went from stripping away the old, crusty layers to mastering those specific sanding grits so you didn’t end up with a surface that feels like sandpaper. By taking the time to prep your workspace and choosing the right tools, you’ve officially moved past the “crisis management” phase and into the actual creation phase. Just remember: if the grain looks a little wonky or you missed a spot, don’t panic. It’s part of the process.
At the end of the day, this isn’t just about a piece of wood; it’s about the fact that you didn’t just throw it away and buy something cheap from a big-box store. You took something tired and gave it a second life, and honestly, that is such a major win for your space and your sanity. So, take a breath, grab a drink, and go admire your handiwork. You’ve earned it.
Frequently Asked Questions
How do I know if the piece is actually worth the effort, or if I'm just about to waste a whole weekend on a junk drawer?
Look, I’ve definitely been there—staring at a particle board nightmare thinking, “I can fix this,” only to realize three hours later that I’ve just wasted a Saturday. Before you commit, check the bones. Is it solid wood or veneer? Is the joinery sturdy, or does it wobble like a newborn deer? If it’s structurally sound and has a silhouette you actually love, go for it. If it’s cheap MDF? Let it go. Your time is precious.
What’s the deal with the smell—how do I keep my tiny apartment from smelling like a chemical factory while I'm working?
Look, I get it. I’ve spent many a weekend in my tiny studio feeling like I was living inside a bottle of industrial solvent. First, ditch the heavy-duty chemical strippers for citrus-based ones; they smell like oranges instead of a hazmat site. Second, crack every window you have and aim a box fan outward to create a vacuum. If you can, move your project to a balcony or even the hallway. Your lungs (and your roommates) will thank you.

