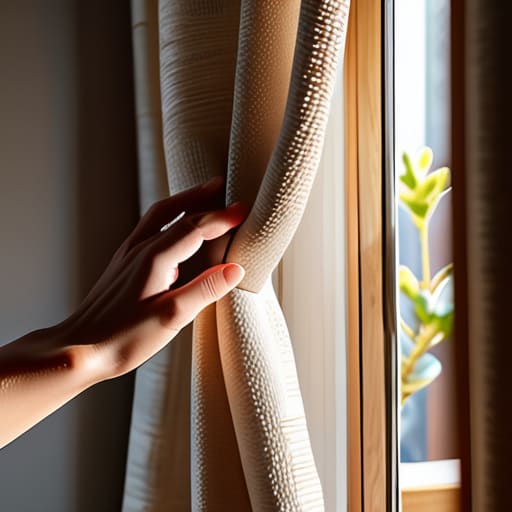
I was standing in the middle of my first “adult” apartment, staring at these massive, depressing windows and a bank account that definitely wasn’t ready for a West Elm budget. I remember thinking that if I didn’t figure out some way to make this place feel like mine without spending three paychecks, I was going to lose it. That was the moment I realized that high-end window treatments are mostly just a marketing scam, and that diy curtains are actually the ultimate cheat code for a cozy home.
Forget everything you think you know about needing a sewing machine or a degree in interior design to pull this off. I’m skipping the fluff and giving you the actual, low-stress methods I use to get that expensive, lived-in look on a thrift-store budget. Whether you’re working with a needle and thread or you’re strictly a “no-sew” kind of person, I’ve got you covered with hacks that won’t ruin your weekend.
Guide Overview
Tools & Supplies
- Sewing machine for stitching hems and edges
- Fabric scissors for precise cutting
- Measuring tape for accurate dimensions
- Sewing pins to hold fabric in place
- Iron for pressing seams flat
- Fabric (2-3 yards depending on window size)
- Thread (1 spool matching fabric color)
- Curtain rod (to hang finished product)
- Measuring tape (to measure window width/height)
Step-by-Step Instructions
- 1. First things first: grab your fabric and a measuring tape. Don’t just eye it—that’s how you end up with curtains that look like dollhouse scraps. Measure your window width and multiply it by two (or even two and a half if you want those nice, moody folds). For the length, decide if you want them to just skim the floor or pool slightly for that “expensive” look. Always add an extra 6-8 inches to your total length to account for the top and bottom hems.
- 2. Once you have your measurements, it’s time to cut. Lay your fabric flat on a clean floor—ideally one you don’t mind getting a little dusty—and use tailor’s chalk or a pencil to mark your lines. When you’re cutting, try to keep your shears as straight as possible to avoid jagged edges that will make the whole project look DIY in a bad way.
- 3. Now we tackle the hems. Fold the raw edges of your fabric inward by about half an inch and iron them flat. This is the step where most people skip the iron, but trust me, ironing is your best friend here. It keeps the fabric from shifting while you sew and ensures your finished edges look crisp rather than bulky and messy.
- 4. Time to sew the side hems. Pin those folded edges down along the sides of your fabric panels. If you’re using a sewing machine, a standard straight stitch works perfectly, but if you’re doing this by hand, just make sure your stitches are consistent and tight. If you’re nervous about the machine, just go slow; there’s no prize for finishing in record time.
- 5. Next, we need to create the “header”—that’s the top part of the curtain that actually hangs on the rod. You can do a simple fold-over hem, or if you want to feel fancy, you can sew a “rod pocket” by folding the top edge over twice. This creates a tunnel for the rod to slide through, which gives the curtain a much more professional weight when it hangs.
- 6. If you aren’t doing a rod pocket and instead want to use curtain rings, you’ll need to sew up small, discrete loops of ribbon or fabric along the top edge. Space them out evenly so the weight of the curtain is distributed. This is a total game-changer if you want to be able to slide your curtains open and shut without them getting stuck or dragging.
- 7. The final step is the “hang test.” Slide your rod through your new pockets or attach your rings, and get them up on the window. If they look a little wonky or lopsided, don’t panic—it’s usually just a matter of adjusting the tension or re-ironing a hem. Take a second to step back, grab a coffee, and actually admire the fact that you just saved a bunch of money and leveled up your space.
Smart Fabric Selection for Window Treatments Without the Stress
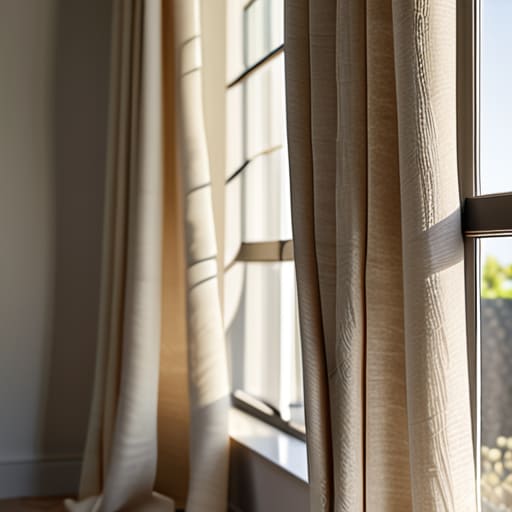
Look, I’ve spent way too many hours at thrift stores and fabric warehouses overcomplicating this part, so let’s skip the headache. When you’re diving into fabric selection for window treatments, the biggest mistake is picking something that looks gorgeous on a bolt but turns into a wrinkled nightmare the second it hits your window. If you want to keep things low-maintenance, lean into linens or heavy cotton blends. They have that perfect, lived-in texture that hides a few wrinkles and actually helps with light control, making them the ultimate budget friendly window decor that doesn’t look cheap.
Also, don’t let “specialty” fabrics intimidate you. You don’t need to be a master seamstress to get a high-end look; you just need to know how the material behaves. If you’re working with something heavier, like a velvet, make sure you’ve mastered your measuring windows for curtains step first, because heavy fabric can pull or sag if your dimensions are even slightly off. Aim for a bit of extra fullness so the drape looks intentional rather than skimpy.
Measuring Windows for Curtains Without the Mid Project Meltdown
Look, I’ve been there—standing on a shaky chair with a tape measure that keeps snapping back, feeling like I’m failing at basic geometry. The secret to avoiding a total disaster when measuring windows for curtains is to stop treating it like a math test and start thinking about the vibe. Before you even touch the tape, decide if you want your curtains to skim the floor for that cozy, high-end look or hover just above it so you aren’t vacuuming dust every single day.
My biggest pro-tip? Always measure twice, but measure for the extra. If you want that lush, gathered look, you can’t just buy fabric that’s the exact width of your window; you need to account for the fullness. I usually aim for two to two-and-a-half times the width of the actual window frame. Also, don’t forget to account for the hardware. If you’re planning on using a chunky rod, make sure you’re measuring from the rod itself, not just the glass. It’s a small detail, but it’s the difference between a window that looks intentional and one that looks like it’s wearing clothes that are two sizes too small.
Pro-Tips to Keep Your DIY Project from Turning into a Total Mess
- Don’t skip the steam. Even if you bought the most gorgeous fabric, if it shows up with those nasty shipping creases, your curtains are going to look cheap and sad. Grab a handheld steamer and hit them while they’re hanging; it’s a total game-changer for that high-end, effortless look.
- Steal the “Double Rod” trick. If you want your DIY curtains to actually look like they belong in a magazine, use a double curtain rod. Put a sheer layer on the bottom and your heavier DIY fabric on top. It adds instant depth and makes it look like you spent way more than you actually did.
- Mind the hem allowance. Whatever you do, do not cut your fabric exactly to the length you measured. Always add an extra 3 to 4 inches for the hem. There is nothing more soul-crushing than finishing a project only to realize your curtains are two inches too short and floating awkwardly above the floor.
The TL;DR on Not Messing Up Your Windows
Don’t overthink the fabric; prioritize something that actually hangs well and fits your vibe so you aren’t staring at wrinkled, sad-looking cloth all day.
Measure twice, buy once, and please—for the love of your sanity—double-check those window widths before you hit “checkout” on that new hardware.
You’ve Got This
Look, I know the whole process of picking the right fabric, measuring your windows, and actually sewing (or even just hanging) can feel like a lot of moving parts. But once you’ve navigated the fabric store and survived the measuring tape drama, you’re basically there. Just remember: it’s all about choosing materials that actually fit your lifestyle and getting those measurements right the first time so you aren’t staring at crooked rods later. You don’t need a professional interior designer to make your space feel intentional; you just need a little bit of patience and the right plan.
At the end of the day, your home shouldn’t be a museum of perfect, expensive things—it should be a reflection of you. Even if your first attempt at DIY curtains isn’t exactly “Pinterest-perfect,” it is still a huge win because you actually did the thing. Stop waiting for the perfect moment or the perfect budget to upgrade your space. Grab your multi-tool, trust your measurements, and just start. You’re doing better at this adulting thing than you think.
Frequently Asked Questions
I'm terrified of messing up the hem—is there a way to do this without actually owning a sewing machine?
Honestly, same. I used to stare at my sewing machine like it was an alien artifact. If you want to skip the sewing machine entirely, grab some heavy-duty iron-on hem tape (like Stitch Witchery). You just fold your fabric, line up the tape, and press it with an iron. It’s basically cheating, but it looks professional and takes zero actual skill. Just do a tiny test scrap first so you don’t accidentally melt your favorite fabric.
How do I make sure my DIY curtains don't look "cheap" or flimsy once they're actually hanging up?
The “cheap” look usually comes down to two things: weight and hardware. If your fabric is too thin, it’ll look like a bedsheet, so go for something with a bit of heft—linen blends or heavy cotton are my go-tos. Also, please, for the love of everything, ditch the flimsy tension rods. Invest in a solid, substantial curtain rod. It gives the fabric structure and makes the whole setup look intentional rather than a last-minute fix.

