I was staring at a pile of expensive ceramic mugs and a stack of thrifted cookbooks, realizing they were all currently living in a chaotic heap on my kitchen counter because I was too intimidated to touch my walls. We’ve been sold this lie that knowing how to install a shelf requires a degree in engineering or a massive, expensive power tool kit, but honestly? That’s just gatekeeping. Most of the time, the barrier isn’t the actual drilling; it’s the mental spiral that happens when you realize you might hit a stud or, even worse, end up with a hole that looks like a crime scene.
I’m not here to give you a lecture on structural integrity that sounds like a textbook. Instead, I’m going to walk you through the low-stress reality of getting those brackets up straight and secure. We’ll cover the exact tools you actually need (and the ones you can totally skip), how to avoid the dreaded “crooked shelf” look, and how to make sure your stuff doesn’t end up in a heap on the floor. Let’s finally get that clutter off your counters and reclaim your space.
Guide Overview
Tools & Supplies
- Drill/Driver for making holes and driving screws
- Level to ensure the shelf is straight
- Pencil for marking mounting points
- Measuring tape for spacing accuracy
- Shelf and brackets 1 set
- Wall anchors and screws 1 pack
- Wall screws 1 pack
Step-by-Step Instructions
- 1. First things first: grab your gear. You’re going to need a drill, a level (the little tool with the bubble, not a life crisis), a screwdriver, a pencil, and some wall anchors if you aren’t hitting a stud. I know, it feels like a lot, but having everything ready before you start prevents that mid-project panic where you realize you’re missing one tiny screw and have to trek back to the hardware store.
- 2. Now, let’s find the “sweet spot.” Decide exactly where you want this shelf to live. Hold the bracket up against the wall and use your pencil to mark the holes. This is where most people mess up—they just wing it and end up with a crooked shelf that looks like it’s sliding off the wall. Take your time here; precision is your best friend.
- 3. Check for studs. This is the part that feels a bit like a high-stakes scavenger hunt. Use a stud finder if you have one, or just give the wall a little tap to feel for that solid, woody resistance. If you hit a stud, you’re golden and can screw directly into it. If you’re hitting just drywall, you absolutely must use anchors. If you skip this, your beautiful new shelf—and whatever cute plants you put on it—will end up on the floor.
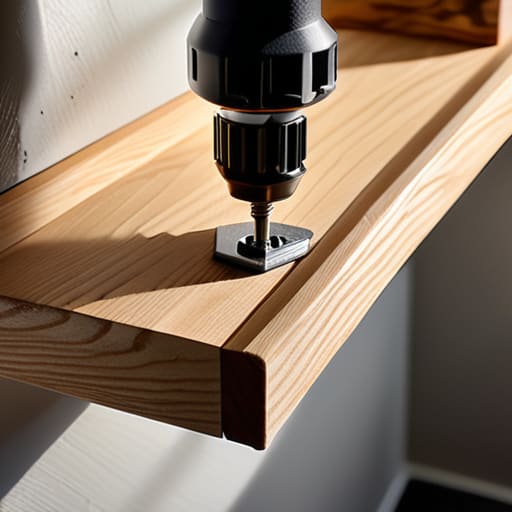
- 4. Time to drill. If you’re using anchors, drill a pilot hole first. Don’t try to force the anchor into the wall with brute strength; let the drill do the heavy lifting. You want the hole to be just the right size so the anchor fits snugly but doesn’t require a wrestling match to get in there.
- 5. Mount the brackets. Line up your brackets with the holes you’ve prepped. This is the moment to bring in the level. Place it on top of the bracket and make sure that little bubble is perfectly centered. If it’s off, adjust the bracket until it’s straight. Once it’s level, go ahead and drive your screws in. Don’t over-tighten them to the point where you strip the screw—just get them nice and secure.
- 6. The final reveal. Set your shelf on top of the brackets and screw it into place from underneath. Give the whole thing a gentle little nudge to make sure it feels sturdy. If it doesn’t wiggle, you’ve done it! Now, go ahead and add your aesthetic bits—the vintage mugs, the books, or whatever makes your space feel like home.
Mastering Wall Stud Finder Usage for Total Sanity
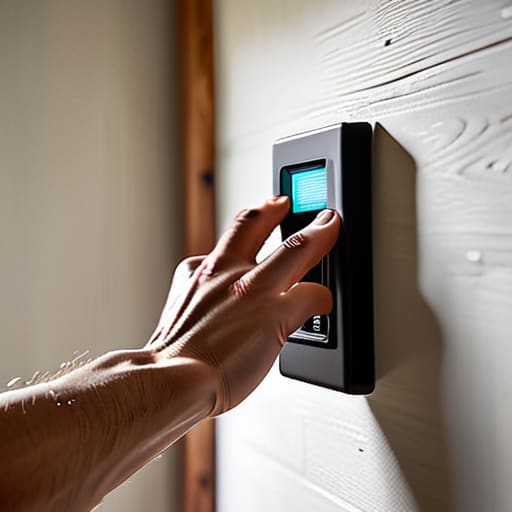
Look, I’ve been there: you’re mid-project, feeling confident, and then—crunch. There is nothing quite as soul-crushing as hearing that hollow sound when you realize you’re just drilling into drywall vs studs. If you’re planning on heavy duty shelf mounting—think books, plants, or those heavy ceramic mugs you thrifted—you absolutely cannot skip the stud finder step. Even if the little device says it’s finding something, I always do a quick “tap test” on the wall to make sure it doesn’t feel like an empty cave.
When it comes to mastering wall stud finder usage, don’t just trust the beep and run. I like to mark both edges of the stud with a light pencil stroke; that way, I know exactly where the “meat” of the wood is. If your layout doesn’t line up with where the studs live, don’t panic. That’s when you pivot to high-quality anchors. It’s all about knowing your limits before you start driving screws into the wall and praying for the best.
Drilling Into Drywall vs Studs the Stress Free Way
Here is the deal: knowing the difference between drilling into drywall vs studs is honestly the difference between a cute new display and a very expensive pile of broken ceramics on your floor. If you’re just hanging a lightweight frame or a tiny piece of decor, hitting the drywall with some basic anchors is fine. But if you’re planning on actually using that shelf for books, plants, or your thrifted kitchenware collection, you absolutely need to find a stud.
If you can’t find a stud and you’re stuck with just drywall, don’t panic—just make sure you’re using the right heavy duty shelf mounting hardware. Standard plastic plugs are usually a recipe for disaster; look for those metal toggle bolts instead. They spread the weight behind the wall so your shelf doesn’t just pull a disappearing act mid-afternoon. Just remember: if it feels flimsy while you’re setting it up, it’s probably going to fail later. Trust your gut.
Pro-Tips to Keep Your Shelf (and Your Sanity) From Crashing Down
- Level it like you mean it. I know, eyeballing it feels faster, but there is nothing more soul-crushing than finishing a project only to realize your favorite vintage mugs are slowly sliding toward the floor. Use a real level—or even a leveling app on your phone if you’re in a pinch—to make sure that thing is actually straight.
- Don’t let the weight fool you. Just because a shelf looks sturdy doesn’t mean it can handle your entire collection of heavy cookbooks. Always check the weight rating of your brackets and anchors before you start loading it up, or you’ll be back at the hardware store fixing a disaster instead of enjoying your new setup.
- Keep a “mistake kit” nearby. I’ve learned the hard way that one wrong drill hole can turn a quick afternoon project into a drywall patching nightmare. Keep a small container with some spackle, a putty knife, and a sanding sponge right next to your tools. If you miss the mark, you can fix the hole in five minutes rather than letting it stare at you for weeks.
The TL;DR for Your Shelf Success
Prioritize the studs. I know it’s tempting to just drill into the drywall and call it a day, but finding that solid wood is the only way to make sure your stuff (and your sanity) doesn’t end up on the floor.
Measure twice, drill once, and don’t sweat the small stuff. If the hole is a little off, just grab some extra filler or a different bracket—it’s a shelf, not a surgical procedure.
You’ve Got This
Look, if you followed the steps, you’ve already done the hard part. You found your studs, you picked the right anchors, and you didn’t let a little bit of drywall dust ruin your vibe. Just remember that the secret to a shelf that actually stays up is all in the preparation. Don’t rush the leveling process, and please, for the love of your sanity, double-check those screws before you go putting your heavy vintage ceramics on there. Once you’ve mastered the drill, you’ve officially leveled up your home maintenance game.
At the end of the day, a shelf is more than just wood and hardware; it’s about reclaiming your space and finally getting that clutter off your surfaces. It might feel intimidating now, but I promise that these little wins are what make a house actually feel like a home. Stop letting that empty wall intimidate you and just start building. You’re doing much better at this adulting thing than you give yourself credit for.
Frequently Asked Questions
What do I do if my stud finder is acting possessed and I can't find anything?
Look, we’ve all been there—you’re staring at a wall, the stud finder is beeping like a glitchy smoke alarm, and you’re about two seconds away from throwing it across the room. If it’s acting possessed, it’s probably just interference from something behind the drywall. Try switching to “deep scan” mode if yours has it, or honestly? Just skip the tech. Use the knuckle test—tap the wall and listen for that solid, thuddy sound versus the hollow echo.
Can I actually hang a shelf if I don't hit a stud, or is my decor doomed?
Your decor is absolutely not doomed. I promise. Look, I’ve definitely had moments where I missed a stud and felt like my entire apartment was going to collapse, but that’s what drywall anchors are for. If you aren’t hitting a stud, just grab some heavy-duty toggle bolts or screw-in anchors. They’re basically little lifesavers that grip the wall from the inside. Just check the weight limit on the package—don’t try to put your entire heavy ceramic collection on a tiny plastic plug.

