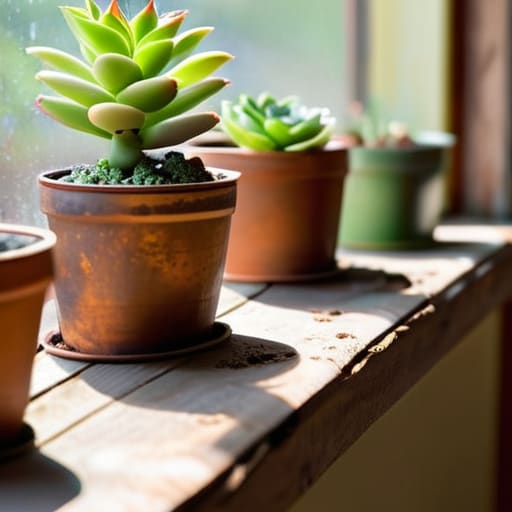
I was standing in the middle of a massive home decor aisle last weekend, staring at a ceramic pot that cost more than my entire grocery budget for the week, and I just thought: this is ridiculous. Why am I paying a premium for a trendy aesthetic when I have a literal graveyard of empty tin cans and vintage glass jars sitting in my kitchen cabinets? The truth is, you don’t need a massive budget or a degree in interior design to breathe some life into your space; you just need some diy planters that actually look intentional rather than like a middle school art project.
I’m not here to give you those overly complicated, Pinterest-perfect tutorials that require a workshop full of power tools and three hours of your life you’ll never get back. Instead, I’m sharing my favorite, low-effort hacks for turning everyday objects into stylish greenery holders. We’re going to focus on quick fixes that look high-end but cost basically nothing, so you can get that lived-in, aesthetic vibe without the constant state of financial crisis.
Guide Overview
Tools & Supplies
- Drill and drill bits for creating drainage holes
- Measuring tape for accurate sizing
- Sandpaper to smooth rough edges
- Upcycled containers (tin cans, plastic bottles, or wooden crates) 2-4 units
- Potting soil 1 large bag
- Small stones or gravel 1 small bag for drainage
- Acrylic paint or spray paint for decoration 1 can
Step-by-Step Instructions
- 1. First things first, you need to scavenge. Don’t go out and buy a set of matching ceramic pots—that’s a fast track to a lighter wallet and a cluttered vibe. Instead, raid your kitchen for empty tin cans (think tomato sauce or large bean cans), look for old glass jars in your recycling bin, or even check that thrift store you love for mismatched mugs. Just make sure they’re thoroughly cleaned and dried so you aren’t growing mold alongside your succulents.
- 2. Now, let’s talk drainage, because nothing kills a plant faster than “wet feet.” If you’re using a metal can or a glass jar, you’ll need to create a way for excess water to escape. If you have a drill, just pop a few holes in the bottom. If you’re working with something more delicate or don’t want to risk cracking it, you can skip the holes but you’ll need to be super careful about not overwatering.
- 3. This is where you make it actually look like “decor” and not just “trash in my living room.” Grab some leftover spray paint in a matte finish or even some textured fabric scraps. I personally love using a bit of twine to wrap around the middle of a tin can—it gives it that effortless, organic look that makes it feel intentional rather than accidental.
- 4. Before you add the actual dirt, grab a handful of small pebbles or even some broken pieces of old terracotta pots. Place these at the very bottom of your container to create a drainage layer. This is a total lifesaver for beginners because it acts as a buffer so your plant’s roots aren’t sitting in a stagnant pool of water.
- 5. Time to get your hands dirty. Grab a bag of high-quality potting mix—and please, don’t just use dirt from outside. Garden soil is way too heavy and can carry weird bugs into your apartment. Scoop the mix into your planter until it’s about an inch below the rim, leaving enough room so that when you water it, the soil doesn’t overflow everywhere.
- 6. Gently nestle your plant into the center of the new home. Give the soil a very light press around the base to settle everything in, but don’t pack it down like you’re trying to build a foundation for a house. You want the roots to have plenty of room to breathe.
- 7. Give it its first drink! Use a small watering can (or just a recycled water bottle) to dampen the soil until you see a little bit of water trickling through the drainage holes. Place your new creation in a spot that matches its light needs, and congrats—you just leveled up your space without the designer price tag.
Upcycled Container Gardening to Save Your Sanity and Budget
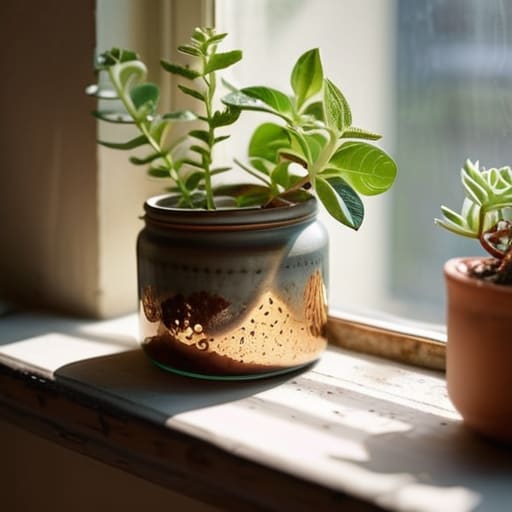
Look, we’ve all been there—staring at a $40 ceramic pot at a boutique garden center and wondering if we actually need it to feel like an “adult.” The answer is a hard no. I’m a huge advocate for upcycled container gardening because, honestly, some of the coolest setups I have in my apartment came from things I was about to toss. Think old tea tins, cracked mugs from a thrift store, or even those sturdy glass jars from your pasta sauce. It’s not just about saving money; it’s about giving your space a vibe that doesn’t look like a showroom catalog.
The only real “rule” I follow when using repurposed household items for plants is to make sure your greenery can actually breathe. If you’re using something like a vintage tin or a plastic container, you have to drill some drainage holes in the bottom. If you don’t, you’re basically just building a tiny, expensive swamp for your roots to drown in. Grab your multi-tool (or a drill if you’re feeling fancy) and get to work—your plants (and your bank account) will thank you.
Mastering Drainage Holes for Handmade Pots Without the Chaos
Look, I’m going to be real with you: the fastest way to kill a new plant baby is by turning your cute new pot into a swamp. If you’re doing any kind of upcycled container gardening, you can’t just assume a tin can or a ceramic mug is ready to go. Without proper airflow, the roots sit in stagnant water and just… give up. It’s heartbreaking, and honestly, totally avoidable.
If you’re working with something like a terracotta pot or a thick plastic container, you’ll need a drill, but if you’re using repurposed household items for plants like glass jars or delicate ceramics, things get a little trickier. For those of us who don’t want to accidentally shatter our thrifted finds, I recommend using a diamond-tipped drill bit and running lukewarm water over the spot while you work. It keeps the friction down and prevents cracks. If you’re too nervous to drill, just layer a thick puck of pebbles or charcoal at the bottom to act as a makeshift reservoir—it’s not perfect, but it’s a solid safety net for your sanity.
Pro-Tips to Keep Your Plants Alive (And Your Floors Clean)
- Don’t skip the saucer situation. If you’re using a cute thrifted mug or a tin can as a planter, it probably doesn’t have a built-in way to catch runoff. Grab a cheap plastic saucer or even a small ceramic plate to slide underneath so you aren’t accidentally turning your bookshelf into a swamp.
- Use “filler” for deeper containers. If you’re repurposing a massive vintage jug or a deep bucket, don’t waste your entire bag of expensive potting soil just to fill the bottom six inches with nothing. Toss in some crushed soda cans or old pebbles to take up space—it saves money and helps with airflow.
- Match the vibe to the plant’s needs. I love a heavy ceramic pot for aesthetics, but if you’re a “forget to water” type of person, stick to terracotta. It’s breathable and tells you exactly when the soil is bone-dry, which is basically a built-in reminder for those of us who are constantly playing catch-up.
The TL;DR on Stress-Free Planting
Stop overthinking the “aesthetic” and start looking in your recycling bin; most of what you need to grow something beautiful is already sitting in your kitchen or garage.
Never skip the drainage step—it’s way easier to poke a hole in a tin can now than it is to revive a dead plant later because of root rot.
The Final Low-Stress Check
At the end of the day, you don’t need a massive budget or a professional greenhouse setup to bring some life into your apartment. We’ve covered how to scout for the perfect upcycled containers, how to keep things functional by mastering drainage, and how to turn literal trash into something actually aesthetic. Just remember that the goal isn’t perfection; it’s about finding ways to make your space feel like yours without the constant financial drain of buying everything brand new from a big-box store.
If you feel a little intimidated by the dirt or the potential mess, just start small with one single tin can or an old mug. Gardening—and adulting in general—is a learning curve, and it’s okay if your first few attempts aren’t Instagram-ready. The real win is that you took a tiny, actionable step to improve your environment on your own terms. You’ve got this, so go grab that multi-tool, find a container, and start growing something today.
Frequently Asked Questions
My DIY planter looks cute, but how do I stop the water from leaking all over my wooden coffee table?
Ugh, the dreaded water ring. We’ve all been there. If you’re using a container without a built-in saucer, don’t panic—you don’t have to give up on the aesthetic. The easiest fix is to grab a cork coaster or a small marble slab to sit underneath. If you want something more “hidden,” just tuck a tiny, clear plastic saucer inside the bottom of your planter. It stays invisible but keeps your wood safe.
Can I actually use these upcycled containers for succulents, or do they need a specific type of soil to stay alive?
Yes, you absolutely can, but don’t just grab whatever dirt is in your backyard. Succulents are basically drama queens about moisture; if they sit in heavy, wet soil, they’ll rot faster than my motivation on a Monday. Grab a bag of cactus or succulent mix—it’s sandier and drains way faster. If you’re feeling extra, mix some perlite into your regular potting soil to give them that extra breathing room they crave.

