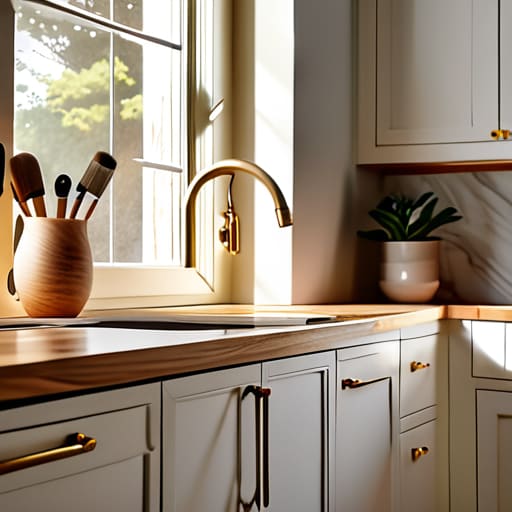
I was sitting on my kitchen floor at 2 AM, surrounded by half-empty paint cans and feeling like a total failure, when I realized I’d made the classic mistake: I thought I could just slap a coat of color over my old, greasy cabinets and call it a day. Most people will tell you that learning how to paint kitchen cabinets is just about picking a cute shade of sage green, but the truth is, if you skip the unglamorous prep work, you’re basically just painting a disaster waiting to happen. I learned that the hard way so you don’t have to.
This guide isn’t some polished, Pinterest-perfect fantasy; it’s the real-world blueprint I wish I had when I was staring at my peeling wood. I’m going to walk you through the exact, no-nonsense steps to get a professional finish without needing a professional budget or a complete mental breakdown. We’re talking about the specific tools that actually work, the cleaning hacks that save your sanity, and how to avoid that sticky, never-dry feeling that ruins so many DIY projects.
Guide Overview
Tools & Supplies
- Screwdriver or drill to remove hardware
- Sandpaper (120-220 grit) for smoothing surfaces
- High-quality brush for edges and corners
- Small foam roller for smooth, streak-free finishes
- Microfiber cloth to remove dust
- Degreaser or TSP to clean surfaces
- Cabinet primer (1-2 quarts)
- Cabinet-grade enamel paint (1-2 quarts)
- Painter's tape for masking edges
- Drop cloths to protect floors and countertops
Step-by-Step Instructions
- 1. First things first, you need to clear the decks. Take everything out of those cabinets—and I mean everything. I know, it feels like a massive chore, but you can’t effectively clean or paint if you’re constantly moving a cereal box out of the way. Once they’re empty, grab a screwdriver and remove all the doors and drawer fronts. Pro tip: Label everything with a piece of painter’s tape (e.g., “Upper Left 1”) and put the corresponding screws in a labeled baggie. Your future self will thank you when it’s time to put it all back together.
- 2. Now, we tackle the grease. This is the step most people try to skip, but if you don’t, your paint is going to peel off in sheets within a month. Kitchen cabinets are basically magnets for cooking oils and grime. Use a heavy-duty degreaser or even just some warm water and Dawn dish soap to give every surface a deep, thorough scrub. If you feel any sticky residue left behind, keep scrubbing. You want a surface that is completely squeaky clean before you move on.
- 3. Once they’re dry, it’s time to sand. You aren’t trying to sand the wood down to nothing; you’re just “scuff sanding” to create a little bit of texture so the primer has something to grab onto. Use a medium-grit sandpaper (around 120-150 grit) and go with the grain of the wood. If you have those fancy shaker-style cabinets with recessed panels, make sure you get into the corners and crevices. Don’t worry about perfection here, just aim for a matte, slightly roughened finish.
- 4. After you’ve finished sanding, you’ll notice a fine layer of dust everywhere. Do not—I repeat, do not—start painting yet. Grab a vacuum with a brush attachment to suck up the big stuff, then go over everything with a tack cloth. This is a sticky cheesecloth designed to pick up those microscopic dust particles that regular rags miss. If you leave that dust behind, your finish will feel like sandpaper once it dries.
- 5. Now, we prime. I know, I know, more steps. But using a high-quality, stain-blocking primer is the absolute secret sauce to a professional look. If you’re working with wood that has tannins (like oak), a good primer will prevent those weird brown spots from bleeding through your beautiful new color. Apply a thin, even coat and let it dry completely according to the can’s instructions. Patience is key here; rushing the drying time is how you end up with a gummy mess.
- 6. Time for the fun part: the actual paint! I highly recommend using a dedicated cabinet paint or a high-quality enamel rather than just standard wall paint. Cabinet paint is designed to be much harder and more resistant to the daily abuse of being bumped and wiped down. Use a small, high-quality synthetic brush for the detailed edges and a mini foam roller for the flat surfaces to minimize brush strokes. Aim for multiple thin coats rather than one thick, gloopy one. It takes longer, but the finish will be way smoother.
- 7. The hardest part of the whole process: waiting. Once your final coat is on, you’ll be dying to put those doors back on so you can actually use your kitchen again. Resist the urge. Let the paint cure for at least 24 to 48 hours before you even think about reattaching the hardware. Even when it feels dry to the touch, it’s still “soft” underneath. Give it some proper breathing room so you don’t end up with permanent fingerprints or dents in your fresh work.
Mastering How to Prep Cabinets for Painting Without the Chaos
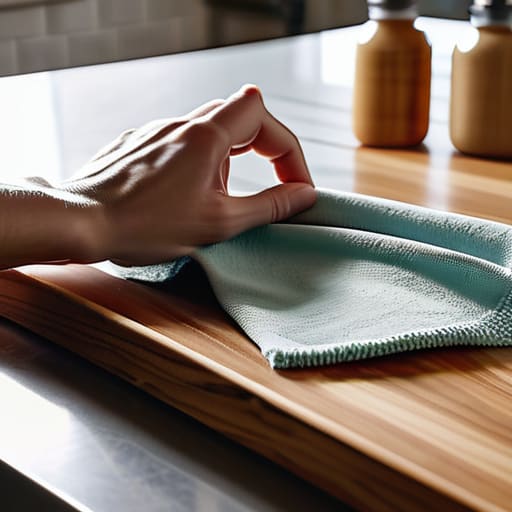
Look, I’m going to be real with you: the actual painting part is the “fun” bit, but the prep is where most people accidentally sabotage their entire weekend. If you skip the deep clean or rush the sanding, you’re basically inviting peeling paint and a massive headache later. When learning how to prep cabinets for painting, my biggest piece of advice is to treat it like a ritual, not a chore. Grab a degreaser—don’t just use dish soap—and get every bit of kitchen grease off those surfaces. If you leave even a tiny film of oil behind, your expensive new finish won’t stick, and you’ll be back to square one by Tuesday.
Once they’re clean, it’s time for the grit. You don’t need to sand them down to the bare wood like you’re stripping a deck, but you do need to scuff the surface so the primer has something to grab onto. I swear by specific cabinet sanding techniques that involve using a higher grit sandpaper for a smoother finish; it makes a world of difference in how professional the final look feels. Before you dive in, double-check your cabinet painting supplies checklist to make sure you actually have enough tack cloths to wipe away the dust. Trust me, leaving even a little bit of sawdust behind is the fastest way to ruin your aesthetic.
Choosing the Best Paint for Kitchen Cabinets and Essential Supplies
Look, I know the hardware aisle can feel like a sensory overload, but don’t just grab the cheapest gallon of latex you see. If you want this project to actually last longer than a week, you need to hunt down the best paint for kitchen cabinets, which usually means something specifically formulated as an enamel. These paints are designed to dry harder, meaning they won’t feel tacky or chip the first time you accidentally bump a drawer. While you’re at it, don’t skip the primer; depending on your surface, you’ll need to look into different kitchen cabinet primer types to ensure that beautiful new color actually sticks.
Before you dive in, take five minutes to run through a quick cabinet painting supplies checklist so you aren’t mid-stroke and realizing you’re out of painter’s tape. I’m talking high-quality synthetic brushes, a small foam roller for those smooth surfaces, and—this is the pro tip—a drop cloth that actually absorbs liquid. Trust me, nothing kills the “aesthetic kitchen” vibe faster than a rogue puddle of sage green paint soaking into your rug.
Three Pro-Tips to Keep You From Regretting This Project
- Don’t rush the drying time between coats. I know, I know—you want to see the finished product now, but if you apply a second coat while the first is still tacky, you’re basically begging for a sticky, textured mess that will never fully cure. Grab a book or go for a walk; let the paint do its thing.
- Invest in a high-quality microfibers cloth for dusting. A standard paper towel or a cheap rag is just going to smear the grime around or leave tiny lint trails in your fresh finish. You want a surface that is surgically clean so the paint actually bonds instead of sitting on top of a layer of invisible grease.
- Test your color on a small, inconspicuous area first. Lighting in a kitchen is weirdly specific, and that “perfect” sage green might look like a swampy mess under your overhead LEDs. Do a little test patch and live with it for 24 hours before you commit to painting every single door in the house.
The TL;DR for Your Cabinet Glow-Up
Don’t skip the prep work; I know it feels like a drag, but spending extra time cleaning and sanding now is the only way to avoid that nightmare scenario of paint peeling off in sheets a month later.
Invest in high-quality cabinet-specific paint rather than whatever was on sale; your sanity (and your kitchen) will thank you when you aren’t constantly fighting streaks or trying to fix drips.
You’ve Got This
Look, I know it feels like a lot. Between the deep cleaning, the tedious sanding, and making sure you picked the right high-quality enamel, it’s easy to feel like you’ve bitten off more than you can chew. But remember: the magic is all in the preparation and the patience. If you didn’t skip the degreasing or if you took that extra hour to sand properly, you’ve already done the hardest part. Once those final coats are drying, you’ll realize that all that manual labor was just a temporary investment in a kitchen that actually feels like yours again.
At the end of the day, your kitchen doesn’t need to look like a Pinterest board to be successful; it just needs to feel functional and fresh. Don’t let the fear of a messy workspace stop you from making a change that makes your daily life a little brighter. You aren’t just painting wood; you’re claiming your space and proving to yourself that you can handle the DIY life. Now, go grab a coffee, step back, and admire your handiwork. You earned it.
Frequently Asked Questions
How long do I actually have to wait before I can start using my kitchen again without ruining the finish?
Look, I get the urge to immediately throw your coffee mugs back in the cupboards, but please—resist. Even if the paint feels dry to the touch after a few hours, it’s still “soft.” To avoid those dreaded sticky spots or permanent dents, give it at least 48 hours before light use, and wait a full week before you start heavy-duty cleaning or slamming doors. Patience now saves you a massive headache (and more sanding) later.
Is it worth it to sand everything down, or can I get away with just using a high-quality primer?
Look, I get it—the thought of spending hours sanding is enough to make anyone want to just order takeout and call it a day. If you’re using a top-tier, high-adhesion primer, you can skip the heavy-duty sanding, but don’t go totally rogue. At the very least, give them a quick scuff with some fine-grit sandpaper. It breaks up that factory-smooth finish so the primer actually has something to grab onto. Trust me, it’s worth the extra twenty minutes to avoid a peeling nightmare later.

