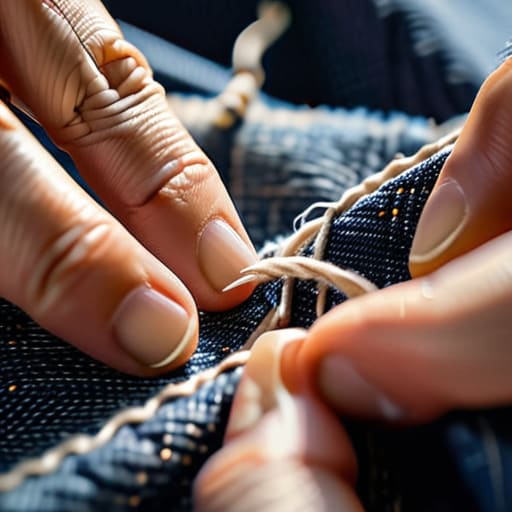
I was halfway through a coffee run when I heard that dreaded rip—the sound of my favorite vintage denim giving up the ghost right at the seam. My first instinct was to spiral and assume my wardrobe was officially retiring, but that’s exactly the kind of unnecessary drama I’m trying to avoid. Most people think learning how to mend clothes requires a degree in textile engineering or a massive sewing machine, but honestly? It’s mostly just about having the right mindset (and maybe a decent needle).
I’m not here to give you a lecture on haute couture or suggest you spend your entire weekend on a single hem. Instead, I’m sharing the low-effort, high-reward hacks I’ve picked up from years of fixing my own stuff on a budget. We’re going to cover the quick fixes that actually hold up, so you can stop stressing over every loose thread and start feeling like you actually have your life together.
Guide Overview
Tools & Supplies
- Hand sewing needles (various sizes)
- Fabric scissors (sharp blades)
- Seam ripper (to remove old stitches)
- Sewing thread (matching colors)
- Fabric patches (small assortment)
- Embroidery floss (for decorative mending)
Step-by-Step Instructions
- 1. First things first, grab a small sewing kit—or just a needle and some thread you found in a junk drawer. You need to match your thread color as closely as possible to the fabric, but if you can’t find an exact match, go a shade darker rather than lighter. It’s way less noticeable when the thread blends into the shadows of the weave.
- 2. Turn your garment inside out before you even think about touching it with a needle. I know it feels counterintuitive, but mending from the back keeps your stitches from looking like a messy bird’s nest on the front. You want the repair to be structural, not just a decorative distraction.
- 3. If you’re dealing with a tiny hole or a loose seam, start by knotting the end of your thread. Thread your needle and make a few “anchor stitches” just inside the healthy fabric surrounding the damage. This ensures your repair doesn’t just rip right out the second you put the clothes on.
- 4. For a simple tear, use a “running stitch”—which is basically just sewing in and out of the fabric in a straight line. If the hole is a bit bigger, try a “whip stitch” where you loop the thread over the raw edges of the fabric to pull them together. Just don’t pull the thread too tight, or you’ll end up puckering the fabric and making it look like a raisin.
- 5. If you’ve got a hole that’s too big for a simple stitch, this is where you play “patchwork pro.” Find a scrap of similar fabric (an old pillowcase or a spare t-shirt works great) and place it behind the hole. Sew around the edges of the hole to secure the patch in place, effectively sandwiching the damage between the garment and the new fabric.
- 6. Once you’ve finished your stitching, don’t just chop the thread and call it a day. Leave a little tail, pull the thread through to the inside of the garment, and tie a small, secure knot. This prevents the whole thing from unraveling mid-commute when you’re actually trying to look put together.
- 7. Finally, give the area a quick press with an iron if you have one. The heat helps the fibers settle and flattens your stitches so the mend looks more like a natural part of the garment and less like a last-minute emergency fix.
Essential Sewing Kit Essentials for Minimalist Crisis Management
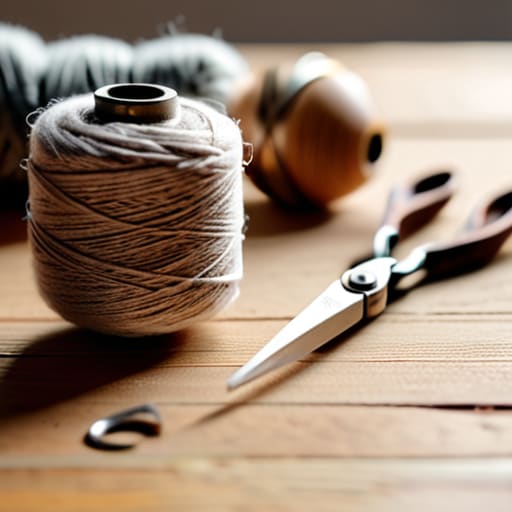
Look, you don’t need a massive, dusty sewing box from your grandmother to handle a wardrobe emergency. Since I live in a tiny apartment, I’ve learned that space is a premium, so I stick to a curated set of sewing kit essentials that actually fit in a drawer. All you really need is a decent pair of small embroidery scissors, a handful of versatile needles, and a few spools of high-quality thread in neutral tones. If you’re serious about long-term repairs, grab a small darning egg; it’s a total game-changer for anyone looking for a solid darning socks tutorial to save their favorite wool pairs from the trash.
I also highly recommend keeping a few scraps of sturdy fabric on hand. If you’re dealing with heavy-duty wear, like patching denim holes, having a bit of scrap cotton or canvas makes the process way smoother. For those moments when you want the repair to be totally seamless, invest in some fine silk thread to master invisible stitch methods. Having these basic fabric repair tools ready means you’re never caught off guard by a sudden rip right before a meeting.
Mastering Invisible Stitch Methods to Save Your Sanity
If you’re not into the whole “visible mending” vibe—where you intentionally use bright thread to make a patch look like art—then we need to talk about invisible stitch methods. I used to get so frustrated when a seam popped on my favorite work trousers because I felt like the repair would always look like a glaring mistake. But once I mastered the ladder stitch, everything changed. It’s basically the magic trick of the sewing world; you pull the thread through the folds of the fabric, and suddenly, the gap just disappears.
The secret to making these repairs look professional rather than “I did this at 2 AM in a panic” is all in the tension. If you pull your thread too tight, you’ll end up with puckered fabric that looks more awkward than the original tear. I always recommend using a thread color that is just one shade darker than your garment rather than trying to match it perfectly. It blends into the shadows of the weave much better, making your hard work virtually undetectable.
Pro-Tips for When You’re Low-Key Panicking
- Match your thread to the fabric, not your mood. I know, it sounds obvious, but when you’re rushing to fix a tear before a Zoom call, it’s tempting to grab whatever’s closest. If the thread color is even slightly off, it’ll look like a neon scar on your favorite sweater. Take the extra ten seconds to find a near-perfect match; your future self will thank you.
- Don’t over-tighten your stitches. I used to think more tension meant a stronger fix, but I’d end up puckering the fabric and making it look like a topographical map. Keep your tension loose and consistent so the fabric can actually move naturally. We want a repair, not a permanent wrinkle.
- Use a scrap piece of fabric as a “buffer” for thin materials. If you’re trying to patch something super delicate, like a vintage tee or thin linen, place a tiny scrap of similar fabric behind the hole before you start sewing. It gives your stitches something sturdy to grab onto so you don’t accidentally turn a small hole into a massive canyon.
The TL;DR on Keeping Your Clothes in Rotation
Don’t wait for a wardrobe catastrophe to find your needle and thread; keep a tiny repair kit handy so a loose button doesn’t derail your entire morning.
Mending isn’t about being perfect or making things look brand new—it’s about making them functional enough to wear again so you can stop spending money on replacements.
The End of the "Wear and Toss" Cycle
At the end of the day, mending isn’t about being a master tailor or having a perfect, Pinterest-worthy sewing room. It’s just about having the right tools—like that basic kit we talked about—and knowing a few low-effort stitches to keep your favorite pieces in rotation. Whether you’re using an invisible stitch to hide a snag or just reinforcing a seam that’s seen better days, you’re effectively taking control of your belongings instead of letting a tiny thread dictate when you have to go out and spend money on a replacement.
I know it can feel a little intimidating to pick up a needle when you’ve spent years just accepting that things eventually break, but I promise it gets easier. Every time you fix something, you’re proving to yourself that you don’t have to live in a constant cycle of replacement. Think of it as a small act of rebellion against a world that wants you to keep buying more. You’ve got this, and honestly, your future self is going to be so much less stressed when your favorite jeans actually stay together.
Frequently Asked Questions
What if I don't have a sewing machine—can I actually get a decent result with just a needle and thread?
Honestly? Yes. I grew up in a tiny apartment where a sewing machine was a luxury I couldn’t afford, so I learned the hard way that a needle and thread are actually your best friends. You don’t need a motorized contraption to fix a hem or patch a hole. As long as you take your time and keep your tension steady, hand-stitching can look just as clean—and sometimes even more intentional—than a machine job.
How do I know if a tear is actually fixable, or if it's time to just let the garment go?
Look, I’ve been there—staring at a sweater like it’s a crime scene. Here’s my rule of thumb: if the tear is along a seam, it’s an easy win. If it’s a clean rip in the fabric, grab a needle. But if the fabric is shredding like wet paper or the hole is right on a high-stress area like the crotch or armpit? Honestly, let it go. Save your energy for something that isn’t a lost cause.

