I was standing on a shaky step stool, staring at a pile of expensive wood and a handful of screws that looked way too small to hold anything, wondering if I’d just paid fifty bucks to make my wall look like a crime scene. We’ve all been there—watching those “perfect” aesthetic home videos and thinking, how are they not crying? But here’s the truth: most floating shelves diy tutorials skip over the part where you actually have to deal with crooked studs and wonky walls. You don’t need a professional contractor or a workshop full of heavy machinery to get that clean, minimalist look; you just need a solid game plan and the right way to anchor them so they don’t come crashing down on your favorite thrifted ceramics.
In this guide, I’m stripping away all the unnecessary fluff and giving you the actual, no-nonsense steps to get these up without a total meltdown. We’re going to walk through everything from finding your studs to the secret tool trick I use to make sure everything stays level. I promise, by the time we’re done, you’ll have some gorgeous, functional storage that actually looks like it belongs in a magazine, even if you’ve never picked up a drill in your life.
Guide Overview
Tools & Supplies
- Drill/Driver for mounting hardware
- Level to ensure shelves are straight
- Saw for cutting wood to size
- Sandpaper for smoothing edges
- Stud finder to locate wall supports
- Wood boards (1-2 depending on size)
- Floating shelf bracket kit (1 set per shelf)
- Wood screws (included with bracket)
- Wall anchors (if not hitting studs)
- Wood stain or paint (1 small can)
Step-by-Step Instructions
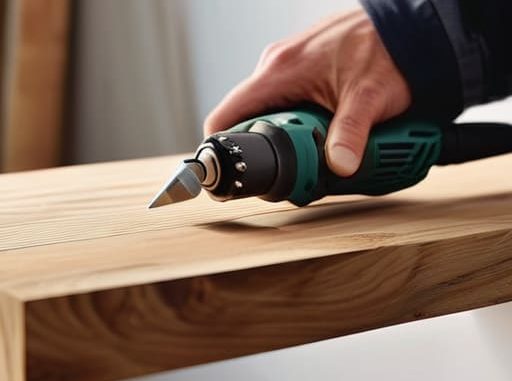
- 1. First things first, you need to grab your supplies before you get halfway through and realize you’re missing something vital. You’ll need your wood (obviously), some floating shelf brackets (the heavy-duty kind, please), a level, a drill, some wall anchors, and a pencil. I always keep my multi-tool handy just in case I need to tweak a screw or something, but for this, you’re mostly going to be playing with power tools.
- 2. Once you have your gear, it’s time to find your sweet spot. Don’t just eyeball it and hope for the best—that’s how you end up with a crooked shelf that makes your whole room look tilted. Use your level to mark exactly where you want the shelf to sit. I highly recommend marking your spots with a light pencil so you can erase them later if you change your mind.
- 3. Now, we have to deal with the “scary” part: the walls. You need to locate your studs using a stud finder if you have one. If you aren’t hitting a stud, you absolutely must use heavy-duty wall anchors. If you try to screw a shelf directly into just drywall without anchors, it’s going to come crashing down the second you put a single book on it, and nobody wants that kind of drama.
- 4. Time to get drilling. Using your drill, make your pilot holes based on the marks you made in step two. If you’re using anchors, this is when you’ll pop them into the holes. Try to keep your hand steady here; if the hole is too big or too wonky, the whole thing is going to feel unstable.
- 5. Next, take your floating shelf brackets and line them up with your new holes. Check them with your level one more time—seriously, double-check everything before you start driving screws. Once you’re confident they’re straight, screw the brackets into the wall until they are nice and tight. They shouldn’t wiggle even a little bit.
- 6. Now for the satisfying part: slide the shelves on. Most floating shelf kits are designed to just slide right over the bracket arms. Gently push the wood onto the hardware. If it feels a bit tight, don’t force it like a maniac; just give it a little wiggle to make sure it’s seated properly and isn’t hitting any unevenness in the wood.
- 7. Finally, it’s time for the sanity-saving test. Give the shelf a very gentle nudge to make sure it feels solid. Once you know it’s secure, go ahead and style it! I love using my thrifted vintage finds to decorate mine, but remember: start light with the decor until you’re 100% sure the weight distribution is working for your specific wall setup.
Mastering Hidden Bracket Installation Without the Panic
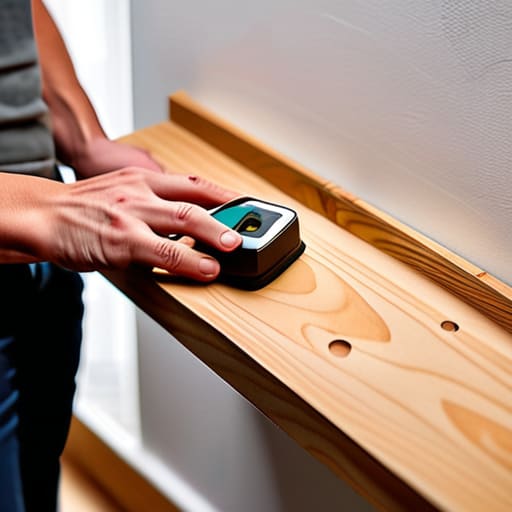
Here is the secret sauce: the part where most people start sweating because they’re terrified of drilling a hole into a literal void in their wall. When it comes to hidden bracket installation, your best friend isn’t actually the drill—it’s a reliable stud finder. I know, I know, finding studs can feel like a high-stakes game of hide-and-seek, but skipping this step is how you end up with a shelf that slowly tilts toward the floor like a sinking ship. If you can’t find a stud exactly where you want the shelf, don’t panic; just invest in some high-quality heavy-duty drywall anchors.
Once you’ve got your placement dialed in, keep a close eye on the floating shelf weight capacity. It’s tempting to go full maximalist and stack every vintage ceramic mug you own on there, but physics doesn’t care about your aesthetic. I always recommend doing a “test load” with some heavy books before you commit to your final decor setup. It’s much easier to adjust your mounting techniques now than it is to fix a cracked wall later.
Choosing Modern Minimalist Shelving Ideas for Sanity
When you’re browsing Pinterest for modern minimalist shelving ideas, it’s easy to get sucked into a rabbit hole of “perfect” aesthetics that look impossible to actually build. My advice? Keep it grounded. If you’re going for that clean, airy look, stick to lighter wood tones or even painted white timber. The goal is for the shelves to look like they’re just hovering there, not like a heavy wooden slab is crushing your vibe. I personally love using reclaimed wood for a bit of texture, but if you want that ultra-sleek vibe, go for a smooth, matte finish.
Just a heads-up before you commit to a specific style: always consider your floating shelf weight capacity before you start drilling. There is nothing more soul-crushing than picking out the perfect set of ceramic mugs, only to have the whole setup sag two inches after you hang them. If you’re planning on displaying heavy cookbooks or a collection of vintage stoneware, you’ll want to prioritize sturdier wood shelf mounting techniques and ensure you’re hitting those studs. Don’t let a beautiful design compromise the actual stability of your space.
Three Little Things That’ll Save Your Walls (and Your Sanity)
- Double-check your stud locations before you even think about drilling. I know, I know—it sounds tedious, but trying to anchor a shelf into just drywall is a one-way ticket to a “shelf-meets-floor” disaster, and nobody has the time for that kind of cleanup.
- Use a level every single time you move a tool. It’s tempting to just “eyeball it” because you’re halfway through and tired, but trust me, a slightly tilted shelf is going to drive you absolutely insane every time you walk past it.
- Keep a small stash of lightweight decor ready. Don’t go overboard with heavy ceramic vases right away; start with a few lighter pieces to test the weight load, then slowly build up your aesthetic as you gain confidence in your handiwork.
The TL;DR on Stress-Free Shelving
Don’t skip the prep work; spending ten extra minutes leveling your brackets now saves you from a literal headache (and a crooked shelf) later.
Keep it functional over fancy—choose minimalist designs that actually fit your space so your new shelves don’t just become another place to hoard clutter.
The Final Polish
At the end of the day, installing floating shelves is less about being a master carpenter and more about having the right game plan. We’ve covered everything from picking a minimalist aesthetic that won’t clutter your brain to the actual heavy lifting of securing those hidden brackets. Remember, it’s okay if your first attempt isn’t Pinterest-perfect; the goal was to get those items off your surfaces and into a space that actually feels organized. As long as you’ve double-checked your measurements and used the right anchors, you’ve already won the battle against the chaos.
Don’t let the fear of a little drill noise stop you from reclaiming your space. We spend so much time feeling like we’re just managing crises, but taking control of your environment—even through something as small as a DIY shelf—is a huge win for your mental health. You don’t need a massive renovation budget to make your home feel like a sanctuary; you just need a little bit of grit and a functional setup. You’ve got this, and your future, organized self will definitely thank you.
Frequently Asked Questions
I'm terrified of drilling into my walls—how do I actually know if I'm hitting a stud or just a random wire?
Look, I get it. The “what if I hit a pipe/wire” panic is real. First, grab a stud finder—it’s the best $20 you’ll ever spend. If you’re flying solo without one, use the “knuckle test”: tap the wall. A hollow sound means nothing; a solid, dull thud usually means a stud. Most importantly, check your outlets. Wires almost always run vertically above or below them. Avoid those paths like the plague.
Can I actually put real books on these, or am I going to wake up to a pile of splintered wood on the floor?
The short answer? Yes, but don’t go full library-maximalist on day one. If you’re planning to stack heavy hardcovers, you absolutely cannot rely on just drywall anchors—that’s how you end up with a “bookshelf” scattered across your floor. You need to hit those studs or use heavy-duty toggle bolts. Think of it like budget management: if you overextend your supports, the whole system crashes. Test the weight gradually.

