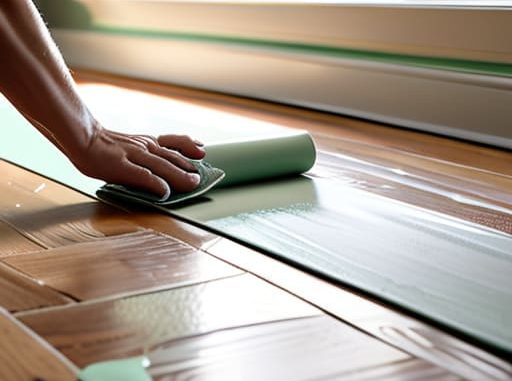
I was standing in the middle of my bedroom at 11:00 PM, staring at a massive, dripping streak of “eggshell white” that looked more like a crime scene than a home renovation, wondering why I ever thought I could do this myself. My floor was a graveyard of plastic sheets and spilled pigment, and honestly? I was one minor inconvenience away from a total meltdown. I realized then that most tutorials skip the actual hard parts, leaving you to figure out how to repaint a room properly while you’re already knee-deep in a mess you can’t clean up.
If you’ve ever felt like DIY projects are just a fancy way to stress yourself out, I promise this guide is different. I’m not going to give you a lecture on professional contractor techniques that require a warehouse of equipment; instead, I’m sharing the low-stress, realistic steps I’ve learned from my own trial and error. We’re going to cover everything from the prep work that actually matters to the secret of getting those clean edges without losing your sanity. This is about getting a result that looks intentional and polished, even if you’re working with a tight budget and a tiny apartment.
Guide Overview
Tools & Supplies
- Paint roller and tray for large surfaces
- Angled brush for cutting in edges
- Painter's tape for clean lines
- Drop cloths to protect flooring
- Interior paint (1-2 gallons per coat)
- Painter's tape (1-2 rolls)
- Sandpaper (medium grit for smoothing)
- Spackle (small container for hole repair)
Step-by-Step Instructions
- 1. First things first: clear the deck. You don’t need to move every single piece of furniture out of the room, but you definitely need to move the big stuff to the center and cover it with plastic drop cloths. I’ve learned the hard way that a tiny splatter of “eggshell white” on a dark velvet sofa is a permanent heartbreak you don’t want to deal with. Grab some painter’s tape for the baseboards and outlets too—it’s tedious, but it’s the difference between a professional look and a messy DIY disaster.
- 2. Now, we deal with the walls, and honestly, this is the part everyone wants to skip but shouldn’t. Grab a damp cloth and some mild soap to wipe down the dust and cobwebs. If your walls have scuffs or weird little holes from old command strips, hit them with some spackle and a putty knife. Once that’s dry, sand it down until it’s smooth to the touch. If you skip this, your new paint is just going to highlight every single imperfection like a high-definition spotlight.
- 3. Get your primer ready. I know, I know—it feels like an extra, unnecessary step when you’re already tired, but if you’re going from a dark color to a light one, primer is your best friend. It creates a uniform surface so the actual paint color looks true to the swatch you picked. Just apply a thin, even coat and let it dry completely. If you try to rush this by painting over wet primer, you’re basically asking for a texture nightmare.
- 4. Time to actually paint, and we’re going to start with the “cut-in” phase. This means using a brush to paint the edges, corners, and around the trim where a roller just can’t reach. Don’t try to do the whole room at once; just do one wall at a time so the edges stay relatively wet when you move to the next step. This helps prevent those annoying, visible lines where the brush meets the roller work.
- 5. Grab your roller and start working in sections. I like to use a “W” or “M” motion to spread the paint out, then fill in the gaps. It sounds a bit weird, but it ensures you aren’t leaving any heavy clumps or thin patches behind. Work quickly but steadily to keep a “wet edge,” which is just a fancy way of saying you want to overlap the new paint onto the unpainted section before the previous stroke dries.
- 6. This is the most important rule of thumb: two coats are non-negotiable. Even if the first coat looks decent, it’s going to look patchy once it fully cures. Wait for the first coat to dry completely (check the can for specific timing, don’t guess!) before going in for round two. The second coat is where that rich, even color actually comes to life and makes the room feel brand new rather than just “lightly touched by paint.
- 7. Finally, the cleanup. Don’t let your brushes sit in a sink of water overnight; it’s a recipe for a clogged drain and a ruined tool. Wash your brushes and rollers immediately with warm soapy water until the water runs clear. Once everything is clean, peel your painter’s tape off while the paint is still slightly tacky. If you wait until the paint is bone-dry and hard, the tape might actually pull chunks of your beautiful new finish right off the wall.
Mastering the Essential Painting Tools and Supplies Without Overspending
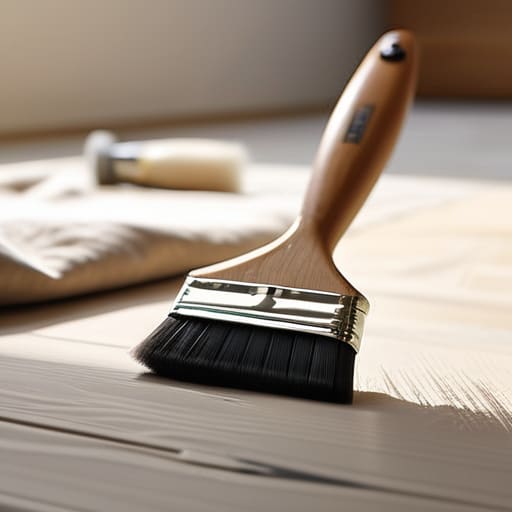
Look, I get it. You walk into a hardware store and suddenly feel like you need a professional-grade industrial sprayer and a degree in chemistry just to change a wall color. Please, don’t do that to your bank account. You don’t need every gadget on the shelf; you just need the right basics. I always tell myself that the quality of your brush matters way more than the quantity of your rollers. Investing in one decent angled brush will save you so much frustration when you’re trying to get those clean lines along the ceiling.
Before you even touch a can of color, don’t skip the boring stuff. Most of the “pro” look actually comes down to how to prep walls for painting correctly. If your walls are dusty or greasy, even the most expensive paint is going to peel or look patchy. I’m a huge advocate for cleaning walls before painting with a simple mixture of water and a tiny bit of dish soap. It takes ten minutes, but it’s the difference between a finish that looks like a DIY project and one that looks like a professional did it.
Smart Secrets for Cleaning Walls Before Painting to Save Sanity
Look, I know the temptation to just grab a roller and go is real, especially when you’re staring at a weekend that’s slipping away. But trust me on this: skipping the scrubbing phase is a one-way ticket to a patchy, textured nightmare. When it comes to cleaning walls before painting, you aren’t just removing dust; you’re removing the invisible oils from your hands and any lingering kitchen grease that will act like a tiny shield, repelling your expensive new color. I once tried to rush a hallway project without a proper wipe-down, and let’s just say the paint ended up peeling in strips like a bad sunburn. Not cute.
If you want to master how to prep walls for painting without it feeling like a chore, keep it simple. Grab a bucket of warm water and a splash of mild dish soap—don’t go overboard with harsh chemicals that leave a residue. Use a microfiber cloth to wipe from the top down. If you’ve got stubborn scuffs, a melamine sponge (the “magic” kind) works wonders, but be careful not to sand down the existing paint layer too much. A clean, matte surface is the secret to a finish that actually looks professional rather than DIY-disaster.
Pro-Level Hacks to Avoid a Total DIY Disaster
- Don’t be a hero with cheap brushes. I know, spending an extra ten bucks on a decent synthetic brush feels annoying when you’re on a budget, but a $2 brush will leave streaks that make you want to scream. Buy the good stuff once so you aren’t re-doing the whole wall on Sunday night.
- Test your colors on a piece of cardboard, not just a tiny swatch. Lighting in a store is nothing like the weird, moody light in your actual apartment. Tape that cardboard to the wall and watch it for twenty-four hours to see how the color shifts from morning to night before you commit.
- Cut in before you roll. It’s tempting to just start rolling everywhere, but you need to do the edges, corners, and around the trim first. Just try to work while the “cut in” paint is still slightly wet to avoid those awkward, visible lines where the roller meets the edge.
- Manage your mess with painter’s tape, but do it right. Don’t just slap it on and walk away. Press the edges down hard with your fingernail or a putty knife to make sure there’s zero gap, otherwise, you’ll end up with “bleeding” paint that looks like a toddler did it.
- Keep your wet tools in a plastic bag. If you’re taking a break for dinner or sleeping, don’t wash your brushes and rollers—that’s a massive waste of time and water. Wrap them tightly in a Ziploc or even a grocery bag to keep the air out, and they’ll be perfectly ready to go when you are.
The Finish Line (And Your New Favorite Space)
Look, I know that staring at a pile of half-empty paint cans and used drop cloths can feel a little overwhelming, but you actually did it. You didn’t just slap some color on a wall and hope for the best; you took the time to prep the surfaces, grabbed the right tools without draining your savings, and followed a logical flow. By prioritizing that cleaning step and being smart about your supplies, you’ve ensured that this project won’t become one of those constant maintenance nightmares that haunts your weekends. You’ve moved past the “crisis management” phase of DIY and into the territory of actually knowing what you’re doing.
At the end of the day, a fresh coat of paint is about way more than just changing a color palette—it’s about reclaiming your space and making it feel like yours. Whether you’re working in a tiny studio apartment or a bigger house, these small wins build the kind of confidence that makes “adulting” feel a lot less daunting. Don’t worry if there’s a tiny drip or a spot you missed; that’s just part of the lived-in aesthetic we’re all aiming for anyway. Take a breath, grab a drink, and just enjoy the fact that you tackled something real today. You earned it.
Once you’ve got your walls prepped and your supplies ready, you might find yourself needing a little extra inspiration to keep the momentum going while you’re in the zone. Honestly, sometimes just having a bit of a distraction or something to look forward to can make the tedious parts of DIY feel a lot less heavy, whether that’s browsing for new decor or even checking out mature sex contacts to see what’s out there. It’s all about maintaining your vibe so you don’t burn out halfway through the project, because let’s be real, staying motivated is half the battle when you’re staring at a bucket of primer.

