I was halfway through moving a heavy thrifted mirror into my studio apartment when I heard that dreaded, hollow thud—followed by the sound of crumbling plaster. I stared at the jagged crater in my wall and felt that immediate, sinking feeling in my chest that says, “Well, I guess I’m officially failing at being an adult.” We’ve all been there, staring at a mess and thinking we need to call an expensive professional or buy a whole construction crew’s worth of supplies just to learn how to repair a dry wall hole. But honestly? That’s a total myth. You don’t need a degree in architecture or a massive budget to fix this; you just need a little bit of patience and the right tiny kit of tools.
In this guide, I’m breaking down the exact, no-nonsense method I use to patch up my own walls without losing my mind. I’ll walk you through the minimal supplies you actually need, how to avoid that crusty, uneven texture that makes DIY jobs look amateur, and how to get a finish so smooth you’ll forget the hole was ever there. Let’s get this fixed so you can stop staring at it and get back to your life.
Guide Overview
Tools & Supplies
- Putty knife (for spreading compound)
- Sanding block (for smoothing surfaces)
- Utility knife (for trimming loose edges)
- Spackle or joint compound (1 small tub)
- Drywall patch kit or mesh tape (1 pack)
- Sandpaper (medium and fine grit)
- Primer (1 small can)
Step-by-Step Instructions
- 1. First things first, grab your supplies. You’re going to need a small tub of lightweight spackle, a putty knife (the flexible kind is your best friend here), a sanding sponge, and a patch kit if the hole is larger than a nickel. If you’re just dealing with a tiny “oops” from moving furniture, you can probably skip the fancy kit and just go with the spackle and a knife.
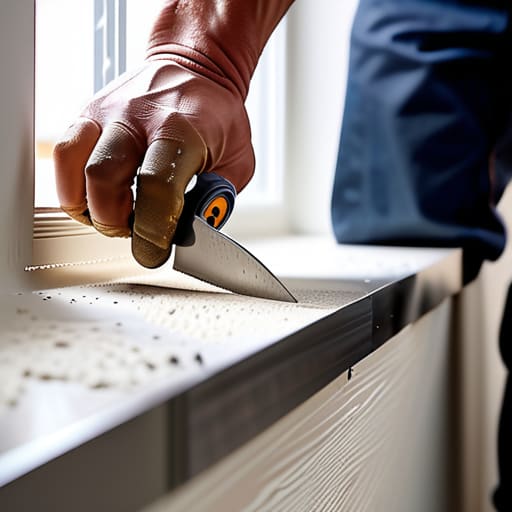
- 2. Take a look at the edges of the hole. If there are any jagged bits of drywall sticking out or loose paper, use your putty knife to gently scrape them away. You want the area to be as flush as possible with the rest of the wall; if you leave those little crusty edges, your patch is going to look like a mountain instead of a smooth surface.
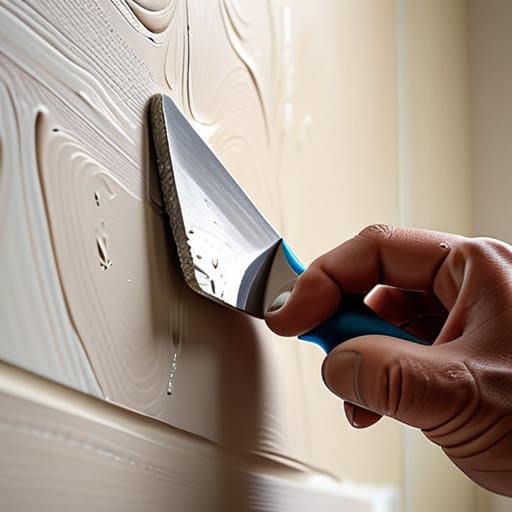
- 3. Now, it’s time to apply the spackle. Scoop a decent amount onto your putty knife and press it firmly into the hole. You want to make sure you’re actually filling the cavity, not just skimming the surface. Once it’s in, swipe the knife across the area in one smooth motion to level it out. Don’t worry if it looks a little messy at first—it’s better to have a tiny bit of excess than to have a sunken crater.
- 4. This is the part where patience actually pays off: let it dry. Depending on how deep the hole was, this could take anywhere from twenty minutes to a few hours. Check the tub of spackle for specific instructions, but a good rule of thumb is to wait until it’s completely matte and hard to the touch. If you try to sand it while it’s still damp, you’ll just end up making a muddy mess of your floor.
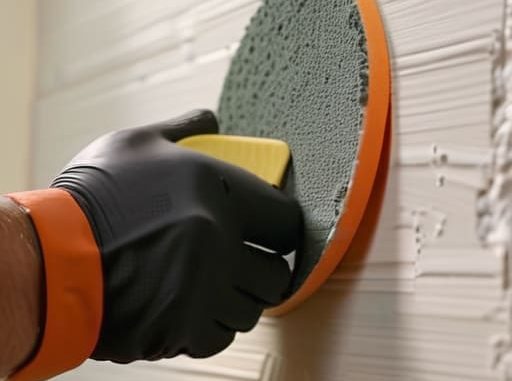
- 5. Grab your sanding sponge and give the patched area a light, gentle buff. Your goal isn’t to sand down the whole wall, but just to smooth out the transition between the new patch and the old drywall. Run your hand over it—if you can feel a bump or a ridge, keep sanding lightly until it feels seamless.
- 6. Once you’re satisfied with the smoothness, wipe the area down with a damp cloth to get rid of all that fine white dust. If you’re planning on painting over it, this is your moment to shine. Use a small brush or a roller to dab a bit of matching paint over the spot. If you do this right, you’ll look at that wall and honestly forget the hole was ever there.
Drywall Patching Kit Essentials for the Chaos Minded
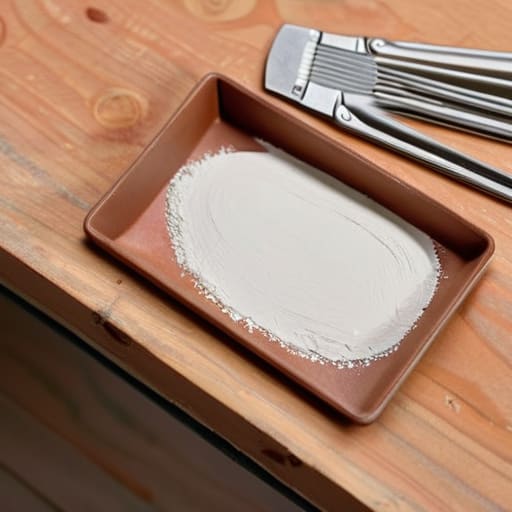
Look, you don’t need to go on a massive hardware store pilgrimage just because you accidentally bumped a chair into the wall. If you’re dealing with those annoying little scuffs or nail pops, a basic set of drywall patching kit essentials is honestly all you need to get through it. Grab a small tub of lightweight spackle, a putty knife, and some fine-grit sandpaper. I usually keep a mini kit tucked away in my utility drawer because, let’s be real, life happens, and having the tools on hand turns a “crisis” into a five-minute task.
If the damage is a bit more dramatic—think a door handle incident or a massive dent—you’ll want to level up. For those bigger craters, you’ll need to look into how to patch large drywall holes using a self-adhesive mesh patch. The mesh acts like a scaffold for your compound, preventing the patch from just sagging or falling out. Once you’ve mastered the application, the real secret to a professional finish is patience; let it dry completely before you try to sand it smooth for painting. Trust me, rushing the drying process is the fastest way to end up with a bumpy, visible mess.
Mastering Drywall Compound Application Techniques Without the Mess
Here’s the real secret to not ending up with a face full of white dust: it’s all about the pressure. When you’re working on your drywall compound application techniques, the biggest mistake I see is trying to do too much at once. Instead of globbing a massive amount of mud onto the patch, aim for thin, translucent layers. Think of it like spreading butter on toast—if you go too thick, you’ll end up with a mountain that takes forever to dry and is a nightmare to level out.
If you’re dealing with something more structural, like mesh tape for drywall cracks, make sure you’re pressing that tape firmly into the wet compound so there are no air pockets. Once the compound is dry, don’t rush the sanding process. Use a fine-grit sandpaper and move in light, circular motions to sand drywall smooth for painting. If you can run your hand over the patch and not feel where the hole used to be, you’ve officially won the battle against your house.
Pro-Tips to Keep Your Walls (and Your Sanity) Intact
- Sanding is your best friend, but don’t go overboard. Use a fine-grit sandpaper and aim for a smooth transition rather than trying to grind the wall down. If you sand too aggressively, you’ll end up with a crater that’s even harder to fix.
- Less is always more when it comes to the compound. I know it’s tempting to glob it on to fill the hole faster, but thick layers lead to cracking and massive amounts of extra sanding later. Think thin, even layers—it’s a marathon, not a sprint.
- Don’t skip the cleaning step. Before you even touch the patch, take a damp cloth and wipe the dust and debris away from the edges of the hole. If you apply compound over loose dust, it won’t bond properly, and your patch will eventually just pop right out.
- Check your lighting before you call it finished. Grab a flashlight or your phone and shine it sideways across the patch. This “raking light” will reveal any tiny bumps or divots you missed that will look like mountains once you try to paint over them.
- Patience is a literal tool. I’ve definitely been guilty of trying to sand a patch that was still slightly damp because I wanted to be done, but it just results in a gummy mess. Wait until it is bone-dry to the touch before you even think about picking up the sandpaper.
You've Got This
So, there you have it. We went from a glaring, awkward hole in your wall to a smooth, seamless surface without you having to call an expensive professional or lose your entire Saturday to a DIY disaster. Just remember the golden rules: keep your compound layers thin to avoid the dreaded sanding nightmare, use the right tools from your kit, and don’t rush the drying process. It’s all about that steady, patient application rather than trying to fix everything in one massive, messy go. Once you nail that sanding phase, the hardest part is officially behind you.
Honestly, I know how it feels when a small mishap like this makes your whole apartment feel like it’s falling apart, but don’t let a little drywall damage get in your head. These tiny repairs are exactly how we reclaim our space and stop feeling like we’re just constantly playing catch-up with our surroundings. Every time you fix something yourself, you’re proving that you’re actually in control of your environment, rather than the other way around. Take a breath, grab your multi-tool, and celebrate the win—your walls (and your sanity) will thank you.
Once you’ve finally smoothed out that patch and the wall is looking seamless again, take a second to actually celebrate the win. Seriously, finishing a DIY task is such a dopamine hit, and you deserve to get out of the house and actually enjoy your space. If you’re feeling a bit lonely after a weekend of solo home repairs, I’ve found that meeting people in London is one of the best ways to reset your social battery and remind yourself that you’re doing a great job at this whole adulting thing.