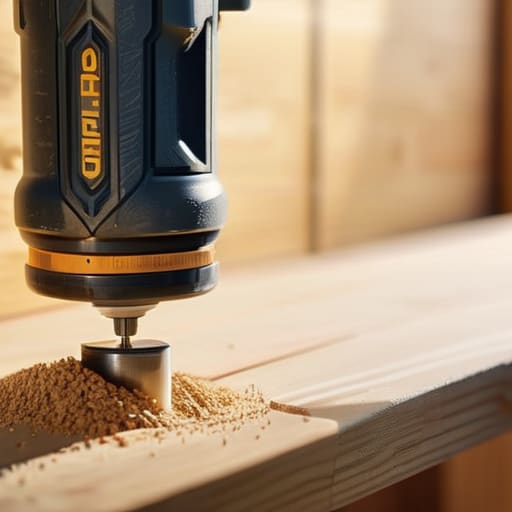
I was halfway through trying to hang a thrifted vintage mirror when I realized I was staring at a heavy, intimidating piece of hardware like it was a live bomb. We’ve all been there—standing in the middle of a room, holding a tool that feels way too loud and way too powerful, wondering if we’re about to accidentally destroy our walls or just look completely clueless. The truth is, learning how to use a drill isn’t about having some innate “handy” DNA; it’s just about understanding a few basic mechanics so you don’t end up with a stripped screw and a massive headache.
I’m not here to give you a technical manual that reads like a physics textbook. Instead, I’m breaking this down into the actual, no-panic steps you need to get from “scared to touch it” to “hanging my own shelves” with total confidence. We’re going to cover the essential gear, how to keep things steady, and the tiny mistakes that usually trip people up. Let’s get you feeling a little less like you’re in a crisis and a lot more like you’ve actually got this handled.
Guide Overview
Tools & Supplies
- Power drill (cordless or corded)
- Drill bits (set of various sizes)
- Workpiece (wood, metal, or plastic)
- Safety glasses (1 pair)
Step-by-Step Instructions
- 1. First things first, you need to pick the right bit for the job. If you’re drilling into wood, grab a wood bit; if it’s metal or plastic, you’ll want a high-speed steel bit. Using the wrong one is the fastest way to ruin your drill bit (and your mood), so double-check the packaging before you get started.
- 2. Once you have your bit, pop it into the chuck—that’s the adjustable part at the very front of the drill. Twist the chuck by hand or use the key if you have an older model until it’s tight. You want that bit to be perfectly centered so it doesn’t wobble like crazy when you pull the trigger.
- 3. Now, let’s talk about the “where.” Don’t just wing it. Grab a pencil and mark your spot with a tiny dot. If you’re working with something harder like masonry or metal, I highly recommend using a center punch or even a small nail to create a tiny indentation. This keeps the drill bit from “skating” across your surface and scratching everything up.
- 4. Get into a stable position. If you’re standing, plant your feet and hold the drill with both hands if it has a side handle. You want to apply steady, even pressure—not so much that you’re leaning your entire body weight into it, but enough so the bit actually bites into the material instead of just spinning on top.
- 5. Start slow. When you pull the trigger, don’t go full throttle immediately. Give it a gentle squeeze to let the bit find its groove in that little mark you made. Once you feel like it’s locked in and moving in the right direction, you can gradually increase the speed to finish the hole.
- 6. Keep an eye on the heat. If you’re drilling through something thick or metal, the bit can get uncomfortably hot very quickly. If you see smoke or it just feels like it’s struggling, stop, let it cool down for a second, and maybe pull the bit out a few times to clear out the debris.
- 7. Finally, when you’re done, pull the drill straight out of the hole. Don’t try to “twist” it out while it’s still spinning, or you might end up with a jagged, messy hole. Once you’re finished, loosen the chuck to remove your bit and tuck it back into its case so you aren’t hunting for it next time.
Mastering Drill Bit Types and Uses Without the Stress
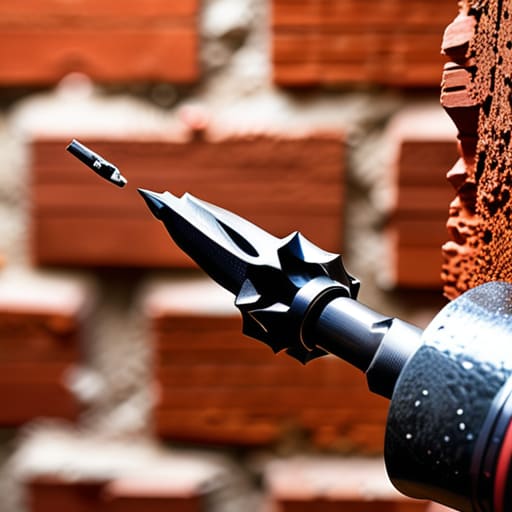
Look, walking into the hardware aisle and seeing a wall of metal bits can feel like a personal attack. It’s easy to grab the first thing you see, but if you want to avoid a total DIY disaster, you’ve got to match the bit to the material. For example, if you’re working with wood, you’ll definitely want to start by drilling pilot holes; it prevents the wood from splitting and makes the whole process way smoother. If you’re tackling something tougher like a brick wall, don’t just wing it with a standard bit—you’ll need to learn how to drill into masonry using a specific masonry bit, otherwise, you’re just going to end up with a burnt-out motor and a lot of frustration.
Another thing that saved my sanity when I first started was finally understanding the difference between a hammer drill vs driver. A driver is your best friend for most assembly tasks, but if you’re dealing with heavy-duty stone or concrete, you need that extra “hammering” action to actually make progress. Also, don’t ignore those numbers on the collar of your drill. Adjusting drill torque settings is the secret to not stripping out screws or cracking delicate materials. Think of it like a volume knob for power—keep it low for small tasks so you don’t accidentally overdo it.
Navigating Torque Settings and Pilot Holes Like a Pro
Now, let’s talk about the part that usually makes me hesitate before I even pull the trigger: the settings. If you’ve ever accidentally stripped a screw head or driven it halfway into your wall, you know exactly what I mean. The secret is adjusting drill torque settings based on what you’re actually doing. Think of torque as the “strength” of the rotation; if you’re working with delicate wood or small screws, turn that number down low. This way, the drill will stop spinning once it hits a certain resistance, preventing you from crushing your project into a mess.
Before you go full force, please, for the love of your sanity, start with drilling pilot holes. It sounds like an extra step, but it’s actually a massive time-saver. By using a tiny bit to create a path first, you ensure the screw goes in straight and won’t split the material. It’s basically the DIY equivalent of mapping out your route before you start driving—it just makes everything smoother and way less stressful.
Three Little Things That’ll Save Your Sanity (and Your Walls)
- Check your grip before you go full throttle. It sounds obvious, but if you aren’t holding that drill like your life depends on it, it will wander off the mark and leave a dent in your drywall that you’ll be staring at for weeks. Keep your wrist firm and your stance steady.
- Don’t ignore the “slip.” If you feel the drill bit skidding or jumping across the surface, stop immediately. You’re likely applying too much pressure or using a bit that’s too blunt. Take a breath, reposition, and let the tool do the heavy lifting instead of trying to muscle it.
- Always, always clear your workspace. I know, I know—it’s tempting to just start drilling amidst the chaos, but a stray screwdriver or a pile of scrap wood under your hand is a recipe for a bad time. A clear surface means a straight line and way less stress.
The TL;DR of Not Ruining Your Project
Slow and steady wins the race—start with a low speed and the correct bit so you don’t end up with a stripped screw or a cracked wall.
Always, always drill a pilot hole first; it’s the difference between a clean, professional-looking fix and a total DIY disaster.
You’ve Got This
At the end of the day, using a drill isn’t about being a master carpenter; it’s just about knowing your tools well enough to not make a mess. We’ve covered the essentials: picking the right bit so you don’t strip your hardware, understanding how torque works, and why those tiny pilot holes are actually your best friend. If you remember to stay steady and listen to what the machine is doing, you’re already ahead of most people. It’s really just about minimizing the chaos before you even pull the trigger.
I know that first time you hold a power tool, it feels a little intimidating—trust me, I’ve been there, staring at a shelf instruction manual like it was written in ancient Greek. But every DIY win starts with a little bit of trial and error. Don’t let the fear of a crooked hole stop you from building the life you want. Just grab your gear, take a breath, and start creating something real. You’re doing better than you think.
Frequently Asked Questions
I’m terrified of the drill slipping and ruining my wall—is there a way to keep it steady so I don't make a huge mess?
I totally get it—that first “slip” is every DIYer’s nightmare. To keep things steady, start by using a piece of painter’s tape over your mark; it gives the bit a little more grip. Also, always use a center punch or even just a nail to make a tiny divot first. That little indentation acts like a landing pad so your drill doesn’t wander off and ruin your drywall. You’ve got this!
How do I know if I actually need a hammer drill for this project, or if my standard cordless one can handle it?
Here’s the quick vibe check: if you’re just hanging shelves or assembling flat-pack furniture, your standard cordless drill is your best friend. Stick with that. But, if you’re staring at a brick wall or concrete and thinking, “I need to mount something here,” you’ll need a hammer drill. A regular drill will just struggle and heat up, which is a total vibe killer. If it’s masonry, go hammer. If it’s wood or drywall, stay standard.

