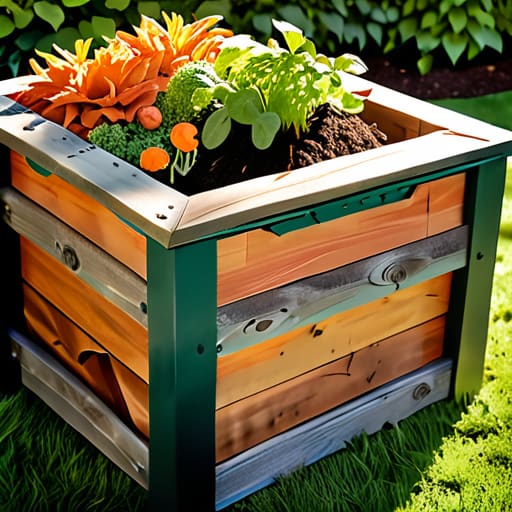
I used to think that if I didn’t have a massive backyard and a fancy, expensive rotating tumbler, I was somehow failing at being an “eco-friendly adult.” I spent way too much time staring at my overflowing trash can, feeling guilty about every banana peel and coffee ground, convinced that learning how to make a compost bin required a degree in environmental science or a huge budget. But honestly? Most of those high-end setups are just overcomplicating a very simple biological process that you can totally master with stuff you probably already have in your garage or shed.
In this guide, I’m stripping away all the gatekeeping and the intimidating jargon to show you how to build a setup that actually works for your lifestyle. I’ll walk you through a few low-effort, high-reward methods—ranging from tiny apartment-friendly hacks to a sturdy outdoor bin—so you can stop feeling like your kitchen scraps are a constant source of clutter and start turning them into something useful. No fluff, no expensive kits, just real ways to get it done.
Guide Overview
Tools & Supplies
- Drill and drill bits for making aeration holes
- Handsaw for trimming materials if necessary
- Plastic storage bin (18-30 gallons)
- Drill bits (1/4 inch to 1/2 inch)
- Potting soil or finished compost (a handful to start the process)
Step-by-Step Instructions
- 1. First things first, you need to pick your “vessel.” Since I’m usually working with limited space, I’m not suggesting you go out and buy a massive, expensive wooden bin. Instead, grab a sturdy plastic storage bin (the kind with a lid) from a thrift store or whatever you have in the garage. Just make sure it’s opaque; light can actually mess with the decomposition process, and we want this to stay low-key and efficient.
- 2. Now, grab that multi-tool from your keychain or a drill. You need to create airflow. Use a heated screwdriver or a drill to poke small holes all over the sides and the lid of your bin. If you don’t give the microbes some room to breathe, your compost is going to end up smelling like a swamp, and nobody wants that in their backyard or balcony.
- 3. Time to build the foundation. You can’t just throw scraps directly onto the bottom; you need a “bed” to help with drainage and aeration. Grab a handful of dried leaves, shredded cardboard, or even some old newspaper. Layer this about two inches deep at the bottom of the bin to act as a buffer for moisture.
- 4. Now comes the “Lasagna Method”—and no, I’m not talking about dinner. You need to balance your “greens” (nitrogen) and your “browns” (carbon). Throw in your kitchen scraps like coffee grounds or veggie peels (the greens), and then immediately cover them with a thick layer of shredded paper or dried leaves (the browns). The goal is to keep the greens tucked away under the browns so you avoid attracting any unwanted tiny roommates like fruit flies.
- 5. Once your layers are in, give it a quick, light mist with water. You aren’t trying to make a soup here; you just want the contents to feel like a wrung-out sponge. If it’s too dry, nothing happens; if it’s too wet, it gets gross. It’s all about finding that sweet spot of moisture.
- 6. Every week or so, grab a small hand shovel or even just a sturdy stick and give everything a good stir. This introduces oxygen back into the mix, which keeps the process moving fast. If you notice it’s getting a bit too smelly, just add more dry browns (like more cardboard) to soak up the excess moisture and balance it out.
- 7. Finally, just let it do its thing. Depending on how much you toss in there, you’ll start seeing dark, crumbly soil in a few months. When it looks like rich, dark earth and doesn’t smell like anything other than a forest floor, it’s officially ready to feed your plants.
Your Essential Compost Bin Materials List for Busy People
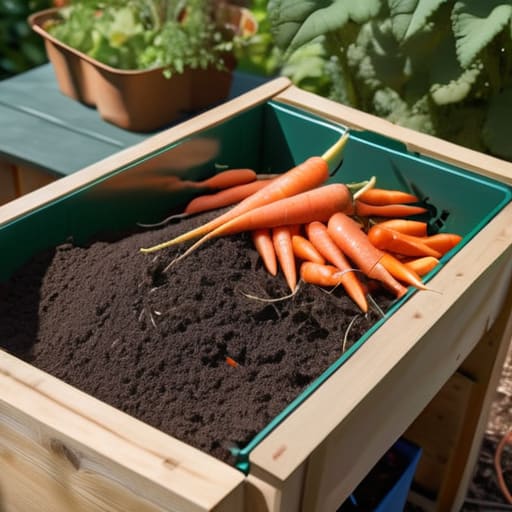
Look, I know the idea of gathering a whole bunch of supplies can feel like just another thing on your to-do list, but let’s keep it simple. You don’t need a fancy, expensive kit from a boutique garden center to get started. For my basic setup, I stick to a few core items: a sturdy container (think a recycled plastic bin or even a wooden crate), some drill bits for airflow, and a way to collect your scraps. When you’re putting together your compost bin materials list, remember that functionality beats aesthetics every single time.
One thing I learned the hard way is that you can’t just dump everything in a sealed box and hope for the best. You need to prioritize aeration for compost bins by drilling small holes or adding a mesh screen to ensure oxygen actually reaches the center. If you’re working with a tiny apartment balcony, you might want to skip the big pile and look into a vermicomposting setup instead—it’s way more compact and honestly, way less messy for small spaces. Just grab what you need and don’t overthink it.
Mastering Garden Waste Management Without the Extra Stress
Once you’ve got your bin assembled, the real trick to successful garden waste management is not letting it become a “set it and forget it” disaster. The biggest mistake I see people make is letting their pile turn into a dense, smelly brick. To avoid this, you need to prioritize aeration for compost bins by giving the pile a quick stir with a garden fork once a week. It sounds like extra work, but it actually speeds up the breakdown process significantly, saving you from having to manage a massive, half-rotted heap later on.
If you’re working with a smaller space or feel a bit intimidated by a large outdoor pile, don’t sweat it. You can always pivot to a vermicomposting setup using worms, which is way more compact and perfect for apartment balconies. Whether you’re going big or small, the goal is to keep things moving without it feeling like a second job. Just remember: consistency beats intensity every single time.
Three Tiny Tweaks to Keep Your Compost from Becoming a Total Nightmare
- Don’t forget the “browns.” If your bin starts looking like a soggy, stinky mess, you probably have too much nitrogen (green stuff like food scraps) and not enough carbon. Just toss in some shredded cardboard or dried leaves to balance it out and kill the smell instantly.
- Give it some air. I know, it sounds weird, but compost needs to breathe just as much as we do. Use a pitchfork or even just a sturdy stick to give everything a quick stir once a week. It speeds up the whole process so you aren’t waiting forever for usable soil.
- Keep it small and manageable. If you’re living in a small space or just have a busy schedule, don’t feel pressured to build a massive, industrial-sized system. A small, contained bin is way easier to monitor and much less likely to attract unwanted uninvited guests (looking at you, fruit flies).
The TL;DR on Keeping Your Compost Stress-Free
Don’t overcomplicate the science; as long as you’re balancing your greens and browns and keeping things moist, the microbes will do the heavy lifting for you.
Start small and stay consistent—it’s way better to have a tiny, manageable bin that actually works than a massive, expensive setup that becomes a chore you eventually ignore.
You’ve Got This
Honestly, once you’ve got your materials gathered and your bin set up, the hardest part is actually behind you. Just remember that composting isn’t about being a perfect scientist; it’s just about finding that sweet spot between your greens and your browns. If it smells a little funky or looks a bit weird, don’t panic—just tweak the moisture or add some more carbon and keep moving. You’ve already done the heavy lifting by setting up a system that works for your lifestyle instead of adding more chores to your plate.
At the end of the day, this little bin is more than just a way to handle kitchen scraps; it’s a small, tangible way to reclaim a sense of control over your environment. We spend so much time feeling overwhelmed by the big stuff, but mastering something as simple as soil health is a huge win for your sanity. Stop waiting for the “perfect” time to start being more sustainable and just embrace the mess. You’re doing better than you think, one scrap at a time.
Frequently Asked Questions
Will my compost bin end up smelling like a literal dumpster in my backyard?
Honestly, if it smells like a dumpster, something is definitely wrong. A healthy compost bin should just smell like damp earth—nothing scary. Usually, a bad stench means your pile is too wet or you’ve added too many “green” scraps (like fruit peels) without enough “browns” (like dried leaves or cardboard) to balance it out. Just toss in some shredded paper, give it a quick stir to let it breathe, and you’re back on track.
How do I know if I'm actually doing this right or if I'm just making a pile of rotting trash?
Look, I get it. There is a very fine line between “nutrient-rich soil” and “biohazard in my backyard.” If it smells like a literal dumpster, you’ve got too much moisture or not enough air—just toss in some shredded cardboard and give it a stir. If nothing is happening at all, you probably need more green scraps. If it smells slightly earthy and looks like dark, crumbly dirt? You’re winning. You’ve got this.

