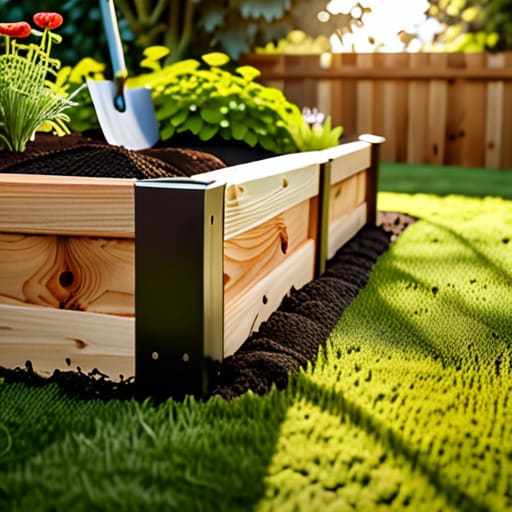
I was standing in my tiny backyard last spring, staring at a pile of expensive cedar planks and a half-empty bag of soil, feeling like a complete fraud. I had watched about fifteen different “aesthetic” gardening tutorials, but none of them accounted for the fact that I didn’t own a power drill or a massive workshop. I realized then that most guides on how to build a raised garden bed make it look like a high-stakes construction project, when really, it’s just about not overcomplicating things so you can actually get to the fun part: growing something edible.
I’m not here to sell you on a lifestyle overhaul or a professional-grade toolset you’ll never use again. Instead, I’m breaking this down into a realistic, low-stress roadmap that works even if your DIY skills are currently limited to following YouTube tutorials and using a multi-tool. I’ll show you exactly how to source your materials without breaking the bank and the simplest way to assemble everything so you can stop fighting the dirt and start actually enjoying your garden.
Guide Overview
Tools & Supplies
- Drill/Driver for assembling boards
- Measuring tape for accurate cuts
- Level to ensure even ground
- Handsaw or miter saw for sizing lumber
- Untreated cedar or redwood boards (4-6 pieces)
- Galvanized wood screws (1 box)
- Garden soil/Compost mix (enough to fill volume)
- Hardware cloth or landscape fabric (optional for base)
Step-by-Step Instructions
- 1. First things first, you need to grab your materials without breaking the bank. Head to your local hardware store and pick up some untreated cedar or redwood; I know, it’s a little more expensive than the cheap pine stuff, but pine will rot faster than my motivation on a Monday morning. You’ll also need a box of exterior-grade screws, some landscape fabric, and a drill. Trust me, spending a few extra bucks now means you won’t be rebuilding this whole thing in twelve months.
- 2. Once you’re back in your driveway (or wherever you’re staging this chaos), it’s time to measure and cut. If you aren’t feeling confident with a hand saw, most big-box stores will actually make the cuts for you if you bring your measurements. Aim for a height of about 12 inches—anything lower and you’ll be constantly bending over, which is a total back-killer once you hit your mid-twenties.
- 3. Now, let’s get assembling. Lay your boards out on a flat surface to form a rectangle, and grab your drill to drive those screws through the sides into the corner posts. I like to use 4×4 posts in the corners because they provide a solid anchor that keeps the walls from bowing out once you add all that heavy, wet soil later.
- 4. Before the bed goes on the grass, you’ve got to prep the ground. Clear out any massive weeds or rocks, and then lay down a layer of thick landscape fabric at the bottom. This is the “secret sauce” step because it prevents grass from growing up into your veggie patch and stealing all the nutrients from your plants.
- 5. Position your frame exactly where you want it—and I mean exactly, because once it’s full of dirt, it’s not moving. Once it’s set, it’s time for the heavy lifting: filling it up. Don’t just buy bags of cheap topsoil; go for a high-quality mix of compost, peat moss, and vermiculite. It’s much easier to invest in good soil once than to try and fix a nutrient-deficient garden later.
- 6. Finally, give the soil a good soak with the hose to settle everything in. If the soil looks like it’s still too fluffy, add a little more water to help it compact. Now, grab a drink, sit in a lawn chair, and take a second to admire the fact that you actually built something functional with your own two hands.
The Ultimate Raised Garden Bed Materials List
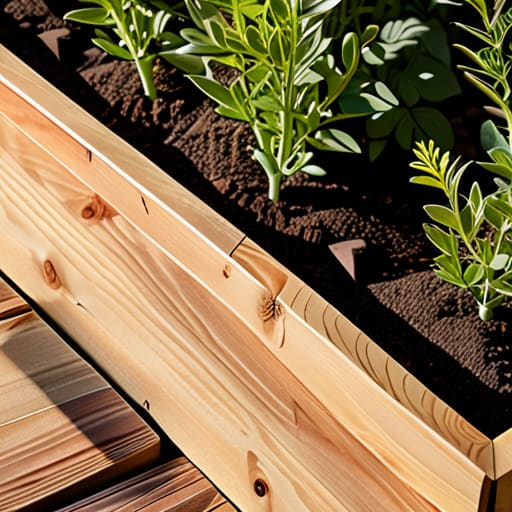
Before you run to the hardware store and grab whatever looks cheapest, let’s talk about the actual raised garden bed materials list you’re going to need. I learned this the hard way when my first DIY project literally started rotting after one rainy season. When you’re deciding between cedar vs pressure treated lumber, I highly recommend going with cedar if your budget allows; it’s naturally rot-resistant and won’t leach chemicals into your veggies. If you’re on a tighter budget, just make sure any treated wood you buy is rated for ground contact and safe for food production.
Don’t forget the “invisible” stuff that actually makes or breaks the garden. You’ll want some heavy-duty landscape fabric or even layers of cardboard for preventing weeds in raised beds so you aren’t spending your entire Saturday weeding instead of relaxing. Also, keep your garden bed dimensions for vegetables in mind—don’t make them so wide that you can’t reach the middle without stepping on your soil. You want to be able to reach everything easily without compacting the dirt!
Choosing the Best Wood for Raised Beds Without the Headache
Look, I’ve been there—standing in the middle of a hardware store aisle, staring at a wall of lumber, feeling like I need a PhD just to pick a plank. It’s overwhelming. When you’re debating cedar vs pressure treated lumber, the most important thing to remember is your budget versus your longevity goals. Cedar is the gold standard because it’s naturally rot-resistant and won’t leach anything weird into your veggies, but let’s be real: it’s pricey. If you’re on a tight budget, modern pressure-treated wood is much safer than it used to be, but if you want to be extra cautious for your organic kale, stick to cedar or redwood.
If you’re looking for a middle ground, consider using heat-treated wood or even composite materials, though they can get a bit finicky with DIY tools. My personal rule of thumb? Don’t overthink it so much that you never actually get the dirt in the ground. Once you pick your wood, you can move on to the fun part—figuring out your raised bed soil mix ratio so your plants actually thrive instead of just surviving.
Three Pro-Tips to Save Your Back (and Your Sanity)
- Don’t skip the hardware cloth. Seriously. Unless you want a family of moles or gophers treating your new garden like an all-you-can-eat buffet, line the bottom with some wire mesh before you add the soil. It’s a five-minute job that saves months of frustration.
- Build for your reach, not just your space. I learned this the hard way: if your bed is wider than four feet, you’re going to end up stepping inside it to reach the middle, which compacts the soil and kills your plants. Keep it narrow enough so you can reach the center from either side without breaking a sweat.
- Level it out before you commit. It’s tempting to just toss the wood on the ground and start filling, but if your bed isn’t level, your water is going to pool in one corner and leave the other side bone-dry. Grab a cheap level and spend ten minutes making sure the base is flat—your future self will thank you when you’re actually watering.
The TL;DR of Your New Garden
Don’t overthink the wood—just pick something rot-resistant like cedar or redwood so you aren’t rebuilding the whole thing in two years when you’re busy with other stuff.
Focus on the prep work; getting your base level and your soil mix right is the difference between a thriving little oasis and a muddy, expensive mess.
You’ve Got This
At the end of the day, building a raised bed isn’t about having a master carpenter’s toolkit or a perfectly manicured backyard. It’s really just about getting the right materials, choosing a wood that won’t rot the second it sees rain, and actually getting your hands dirty. Once you’ve got your frame leveled and your soil mixed, the hardest part of the logistics is officially behind you. You’ve moved from the “planning and stressing” phase to the actual doing phase, which is where the real magic happens.
Don’t let the fear of a little sawdust or a slightly crooked corner stop you from starting. Your garden doesn’t need to look like a professional landscape magazine spread to be successful; it just needs to be a space where you can grow something of your own. Whether you end up with a massive vegetable patch or just a tiny corner for some herbs, remember that progress over perfection is the ultimate adulting hack. Now, go grab your multi-tool and go make something grow.
Frequently Asked Questions
Do I actually need to line the bottom with cardboard, or is that just a Pinterest myth?
Honestly? It’s definitely not just a Pinterest myth. Think of it as a “cheat code” for your soil. Laying down plain, non-glossy cardboard acts as a natural weed barrier that actually works. It smothers the grass and weeds underneath so you aren’t fighting them for months. Plus, as it breaks down, it turns into compost, feeding your new soil. It’s low-effort, cheap, and saves your future self a massive headache.
How much soil am I really going to need to buy so I don't end up with a mountain of leftover bags in my driveway?
The “bag math” struggle is so real. There is nothing worse than staring at ten leftover bags of dirt in your driveway like they’re a personal failure. To avoid the mountain of mulch, grab a tape measure and calculate your volume: Length x Width x Depth (in feet). Multiply that number, and that’s your cubic feet. If you’re buying bags, check the bag size—most are 1.5 or 2 cubic feet. Do the math once, buy once.

