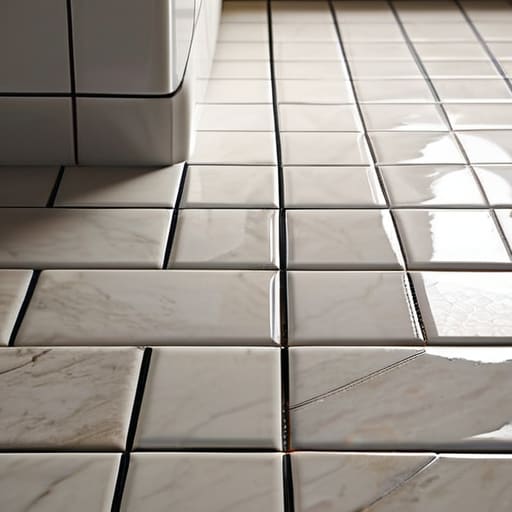
I was staring at my kitchen floor last Tuesday, mid-way through a much-needed iced coffee, when I realized the lines between my tiles had turned a depressing shade of muddy grey. It’s that specific kind of “adulting fail” that makes you want to just move houses instead of scrubbing. Most people will tell you that you need to drop fifty bucks on some aggressive, toxic chemical cocktail to fix it, but honestly? That’s a total lie. Learning how to clean grout doesn’t have to involve wearing a hazmat suit or breaking your back; it’s usually just about having the right tools and a little bit of chemistry.
I’m not here to give you a twenty-step industrial cleaning manual that takes up your entire Saturday. Instead, I’m sharing the low-effort, high-reward methods I’ve perfected in my own tiny apartment using stuff you probably already have under your sink. We’re going to cover the quick fixes for daily grime and the deep-clean hacks for when things get actually gross, so you can reclaim your space without losing your sanity.
Guide Overview
Tools & Supplies
- Stiff grout brush or old toothbrush for scrubbing
- Microfiber cloth or sponge for wiping away residue
- Baking soda (1 cup)
- White vinegar (1/2 cup)
- Warm water (2 cups)
Step-by-Step Instructions
- 1. First things first, clear the decks. Move your bath mats, soap dispensers, or any stray kitchen clutter out of the way so you actually have a clear workspace. There is nothing more frustrating than trying to scrub a corner only to realize you’re just moving a bottle of shampoo around.
- 2. Grab your supplies—and no, you don’t need to drop $30 on some fancy, branded “professional” cleaner. All you really need is baking soda, white vinegar, and some dish soap. Mix them into a thick paste that looks a bit like shaving cream so it actually stays where you put it instead of just running down the wall.
- 3. Slather that paste onto your grout lines. Don’t be shy about it; you want a decent layer to really let the chemistry do the heavy lifting. If you’re feeling extra motivated, you can spray a little straight vinegar over the paste to get a fizzing reaction that helps loosen the grit.
- 4. Let it sit. This is the hardest part for people like me who want everything done immediately, but if you walk away for about 10 to 15 minutes, the solution can actually break down the grime. Go grab a coffee or scroll through your feed—just let the paste do its thing.
- 5. Now, grab an old toothbrush (or a dedicated grout brush if you’re feeling fancy) and start scrubbing. Use circular motions to really get into those tiny crevices where the dirt loves to hide. If you hit a particularly nasty spot, don’t panic; just add a little more pressure and keep at it.
- 6. Wipe everything away with a damp microfiber cloth or a sponge. I usually recommend a warm, damp cloth to make sure you aren’t leaving any weird, cloudy residue behind once the floor dries.
- 7. Once the tiles are clean, take a second to check if you need to reseal them. If the grout looks really porous or “thirsty,” a quick application of grout sealer will act like a protective shield and keep the dirt from sinking back in next time you spill something.
Removing Grout Stains Naturally for a Stress Free Shine
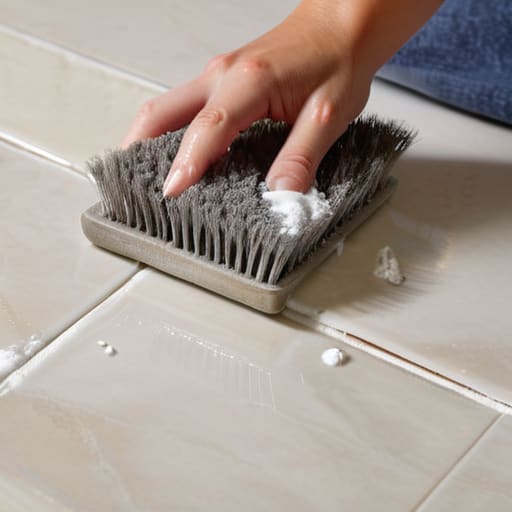
If you’re anything like me, the thought of breathing in heavy chemical fumes just to have a clean floor feels like a massive trade-off I’m not willing to make. I’ve spent way too many nights researching removing grout stains naturally because, honestly, my lungs (and my apartment) deserve better. My go-to hack? A simple paste of baking soda and hydrogen peroxide. It’s basically magic for brightening up those dingy lines without needing a hazmat suit. Just slather it on, let it sit for about ten minutes, and watch the grime lift.
For those stubborn spots that just won’t budge, don’t go out and buy a bunch of expensive, specialized chemicals. You probably already have the best grout cleaner for tile sitting in your pantry. A little bit of white vinegar mixed with warm water works wonders for daily maintenance, especially when you’re cleaning bathroom tile grout after a long week. Just a heads-up: if you’re working with natural stone, skip the vinegar so you don’t etch the surface—stick to the baking soda method instead.
Finding the Best Grout Cleaner for Tile That Actually Works
Look, I’ve spent way too many hours staring at a bottle of “industrial strength” cleaner in the aisle, wondering if it’s actually going to do anything or just smell like a chemical factory. If you’re hunting for the best grout cleaner for tile, my unsolicited advice is to check the pH levels. You want something heavy-duty enough to cut through years of soap scum, but not so caustic that it eats away at your actual tile. If you’re dealing with heavy-duty grime in a high-traffic area, a dedicated alkaline cleaner is usually your best bet for lifting deep-seated dirt without a fight.
But don’t forget that the liquid is only half the battle; your hardware matters just as much. I’ve learned the hard way that a standard sponge just pushes the mess around. To actually see results when cleaning bathroom tile grout, you need proper grout scrubbing tools. I’m talking about a stiff-bristled grout brush or even a dedicated electric scrubber if you want to save your wrists. It’s much easier to let the tool do the heavy lifting than to spend your entire Saturday hunched over the floor.
Pro-Tips to Save Your Sanity (and Your Knees)
- Don’t go at it with a massive scrub brush right away; start with a stiff-bristled toothbrush to target the grime without making a massive, exhausting mess of the whole floor.
- If you’re dealing with a particularly stubborn patch, let your cleaning solution sit for at least ten minutes—letting the chemistry do the heavy lifting is way better than spending twenty minutes aggressively scrubbing.
- Once you’re done, make sure you rinse the area thoroughly with clean water; if you leave any residue behind, it’ll actually act like a magnet for more dirt the second it dries.
The TL;DR on Keeping Your Tile From Looking Sad
Don’t overthink it—most of the time, a little baking soda and an old toothbrush will do more for your sanity than any expensive, heavy-duty chemical cocktail.
Consistency is your best friend; a quick five-minute scrub once a month is way easier than facing a full-blown grout crisis when the grime actually sets in.
The Low-Stress Finish
Look, I know staring at those dirty lines can feel like just another massive chore on an endless to-do list, but you’ve totally got this. Whether you decided to go the eco-friendly route with a little baking soda magic or you finally pulled the trigger on a heavy-duty commercial cleaner, the goal was always the same: making your space feel actually clean without losing your mind. Just remember to stay consistent with your scrubbing, keep your tools handy, and don’t feel like you have to tackle the entire house in one sitting. A little bit of effort goes a long way in keeping things from getting overwhelming.
At the end of the day, your home doesn’t need to look like a sterile showroom to be worthy of your time. It’s okay if things get a little lived-in; the point is to have a space that feels like a sanctuary rather than a source of stress. Once those grout lines are bright again, take a second to just breathe and enjoy the view. You’re doing a great job at this whole adulting thing, one small win at a time.
Frequently Asked Questions
Is it actually safe to use vinegar on my grout, or am I going to end up accidentally etching the tile?
Okay, real talk: if you have natural stone tiles—like marble, travertine, or limestone—keep the vinegar far away from them. Vinegar is acidic, and that acid will literally eat into the surface, leaving you with permanent dull spots or “etching” that’s a total nightmare to fix. If you’re working with standard ceramic or porcelain, you’re usually fine, but when in doubt, always do a tiny patch test in a corner first. Better safe than sorry!
How often do I actually need to deep clean this stuff before it starts looking permanently gross?
Honestly, it depends on how much of a chaos magnet your kitchen is, but if you’re looking for a baseline: aim for a deep clean every 3 to 6 months. If you’ve got high-traffic areas like the shower or the floor near the front door, don’t wait until it looks “permanently gross”—once that grime settles in, it’s a much bigger headache. A quick monthly wipe-down keeps the heavy lifting to a minimum.

