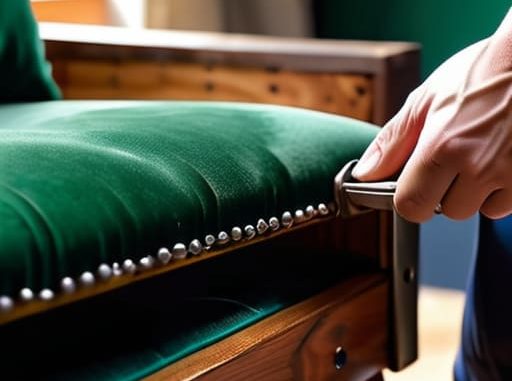
I was sitting on my floor last Tuesday, staring at this hideous, mustard-yellow thrift store find that I’d spent way too much money on, wondering if I’d just bought a very expensive piece of firewood. We’ve all been there—you see something with “potential” at a garage sale, but once it’s in your living room, it just looks like total chaos. Most people think you need a professional upholstery studio and a degree in textile engineering to fix this, but honestly, learning how to reupholster a chair is way more about grit and a good YouTube tutorial than it is about expensive machinery.
I’m not going to give you some polished, Pinterest-perfect version of this process that requires a $500 toolkit. Instead, I’m breaking down the actual, messy reality of the job. I’ll show you how to strip it down, pick fabric that won’t pill after two weeks, and use the tools you already have in your junk drawer to get a finish that looks intentional, not accidental. Let’s get into the low-stress way to save your furniture without losing your mind.
Guide Overview
Tools & Supplies
- Staple gun and staples for securing fabric
- Upholstery pliers for pulling fabric and staples
- Scissors or fabric shears for cutting material
- Mallet for flattening padding or securing trim
- Upholstery fabric (approx. 1-3 yards depending on chair size)
- High-density foam or batting for padding
- Dust cover fabric for the bottom of the chair
- Upholstery thread for any sewing required
Step-by-Step Instructions
- 1. First things first: strip it down to the bones. Grab a flathead screwdriver or a pair of pliers and start pulling out all those old staples and nails. Don’t worry about being neat right now; just get that old, crusty fabric off the frame. Once you’re done, take a quick look at the wood or metal underneath—if there are any loose screws or wobbly bits, fix them now before you even think about the new fabric.
- 2. Before you even touch your new fabric, save the old stuff. I know it sounds weird, but that old upholstery is basically your cheat sheet. Lay the old fabric pieces out on the floor and use them as templates to cut your new fabric. This saves you from the “math panic” of trying to measure everything perfectly, because you’re just tracing what already works.
- 3. Now, let’s talk cutting. Lay your new fabric face-down on the floor, place your pattern pieces on top, and cut them out with some breathing room. You want at least an extra inch or two around the edges so you have something to pull and staple later. If you’re using something with a pattern, like stripes or florals, make sure you align them carefully so the chair doesn’t end up looking wonky.
- 4. It’s time for the actual upholstery part, so grab your staple gun (and maybe a hammer if you’re working with a wooden frame). Start in the center of each side—top, bottom, left, and right—to get your tension even. Pull the fabric taut, but not “strangling it” tight, and fire a staple. Work your way from the center out toward the corners to prevent any weird bunching or wrinkles.
- 5. The corners are where most people lose their minds, but don’t panic. Instead of trying to wrap it all at once, fold the excess fabric into neat, flat pleats. Think of it like wrapping a gift; you want the folds to lay flat against the frame so they don’t create a bulky bump. If it gets too messy, just trim the excess before you staple it down.
- 6. Once the seat is covered, it’s time for the finishing touches. If your chair has a decorative trim or some piping, this is where you add that extra bit of “aesthetic” to make it look professional. If you’re feeling extra, you can even use a bit of upholstery tack to secure the edges. Finally, give the whole thing a good once-over to make sure there are no loose threads or rogue staples waiting to snag your clothes.
The Essential Kit Must Have Upholstery Tools and Supplies
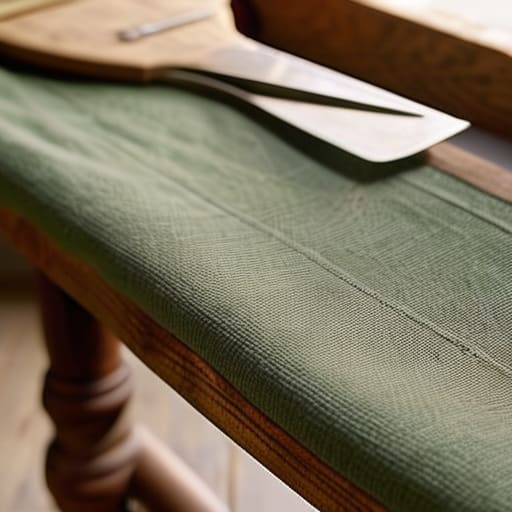
Before you dive in, let’s talk gear. You don’t need a professional workshop, but you do need the right stuff to avoid a total meltdown halfway through. First off, don’t skimp on the staple gun; a cheap one will just jam and leave you staring at the ceiling in frustration. When it comes to upholstery tools and supplies, I always keep a pair of heavy-duty fabric shears and a seam ripper handy—trust me, removing old fabric from chairs is a messy, surgical process that requires precision, not brute force.
The real magic, though, happens in the details. If your chair feels a bit sad and saggy, you’ll want to look into replacing chair foam padding while the frame is bare. It’s the easiest way to make a thrifted find feel brand new. Also, keep an eye on your fabric choice; choosing upholstery fabric types like heavy canvas or velvet will give you that high-end look, whereas thin cotton might just tear the moment you pull it taut.
Smart Fabric Choices Choosing Upholstery Fabric Types That Last
Look, I’ve learned the hard way that picking the wrong fabric is a recipe for immediate regret. You might find a gorgeous, high-end velvet at a thrift shop, but if you’re planning on eating ramen in that chair every night, it’s going to be a disaster by next month. When it comes to choosing upholstery fabric types, you have to play the long game. If this is a high-traffic piece, go for something with a high Martindale rub count (that’s just a fancy way of measuring durability) or a sturdy synthetic blend that can actually handle a little bit of life.
If you’re working on a piece that’s seen better days, don’t just swap the skin—check the bones. While you’re deep in the process of replacing chair foam padding, take a second to see if the fabric you’re eyeing is thick enough to hide any imperfections in the underlying structure. A heavy canvas or a tight weave is much more forgiving than a thin linen, which can show every single bump and wonky seam. Think about function over aesthetic—you want something that looks intentional, not something that looks like it’s one spilled coffee away from a total meltdown.
Three Pro Tips to Save Your Sanity (and Your Fabric)
- Don’t toss the old fabric yet. Seriously. Before you even think about cutting into your new, expensive material, use the old fabric as a template. Trace your cuts on the back of the new stuff to make sure you’ve got enough “pull” room for the staples. Trust me, there is nothing worse than being two inches short of a clean edge when you’re halfway through.
- Work in small sections, not big chunks. It’s tempting to just grab a handful of fabric and pull it tight, but that’s how you end up with weird, diagonal wrinkles that make your chair look like a crumpled paper bag. Start at the center of each side and work your way toward the corners in tiny, incremental pulls. It’s tedious, but it’s the difference between “DIY masterpiece” and “I tried my best.”
- The “Tension Test” is your best friend. Every few staples, give the fabric a little tug to make sure it’s actually staying put and not sliding around. If you notice the fabric starting to bunch or pucker, stop immediately and readjust. It’s much easier to fix a loose corner now than it is to try and hide a massive wrinkle once you’ve already stapled the whole thing down.
The TL;DR: Don't Overthink It
Focus on the prep work—cleaning the frame and checking the padding is way more important than getting the perfect stitch on your first try.
Invest in decent fabric and a solid staple gun now so you aren’t re-doing this whole project in six months when the cheap stuff starts fraying.
The Final Reveal
Look, I know it probably felt a little intimidating when you first pulled that old fabric off and saw the raw frame underneath, but you actually did it. From picking out a fabric that won’t pill after two weeks to mastering that final staple run, you’ve successfully navigated the hardest parts of the process. Just remember that the secret to a professional finish isn’t perfection—it’s about having the right tools and taking your time with the tension. You’ve turned a piece of “junk” into something that actually fits your aesthetic and, more importantly, something you built with your own two hands.
At the end of the day, reupholstering isn’t just about saving a few bucks or avoiding a trip to a big-box furniture store; it’s about reclaiming your space. Instead of feeling like you have to constantly replace things when they show a little wear, you now have the skills to make them last. So, take a second to actually sit in that chair and appreciate the win. You’re officially one step closer to mastering the art of adulting, one DIY project at a time.
Frequently Asked Questions
I'm terrified of messing up the fabric—how do I know if I've pulled it too tight or if it's going to look saggy once I'm done?
Deep breaths—we’ve all been there. The “is this too tight?” panic is real. Here’s my rule of thumb: you want the fabric to be taut like a drum, not pulling so hard that the chair frame starts to warp. A good trick is to pull it toward the center of each side first, then work your way to the corners. If you see wrinkles, pull more; if the fabric looks strained or white at the seams, back off.
Is it actually worth trying to reupholster an old thrift store find, or should I just bite the bullet and buy something new?
Honestly? If the bones are solid, it’s 100% worth it. I’ve rescued so many mid-century gems from thrift stores that would cost a fortune brand new. If the frame is sturdy and the “soul” of the piece is there, go for it—it’s way more rewarding (and cheaper) than buying particle-board junk from a big-box store. But if the wood is wobbly or crumbling? Let it go. Save your sanity and your budget for a better find.

