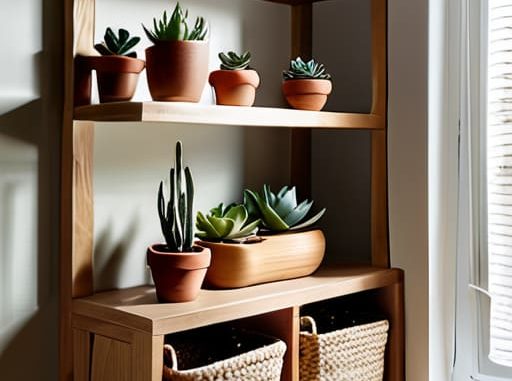
I grew up in a tiny apartment where every square inch was a battleground, so I’ve seen firsthand how easily a “system” can turn into just another pile of expensive, aesthetic junk. Honestly, I’m so over those Pinterest-perfect tutorials that tell you to spend a week’s grocery budget on custom acrylic bins just to organize a junk drawer. You don’t need a massive renovation or a professional organizer to fix your chaos; you just need some clever diy storage solutions that actually work with the weird, cramped spaces we live in.
I’m not here to sell you on a lifestyle overhaul or a trip to a high-end boutique. My goal is to give you the real-world hacks I’ve picked up from years of fixing my own cramped corners and scavenging thrift stores. We’re going to focus on low-effort, high-impact projects that reclaim your space without draining your bank account or your sanity. Let’s get into it.
Small Apartment Storage Hacks for Tiny Spaces
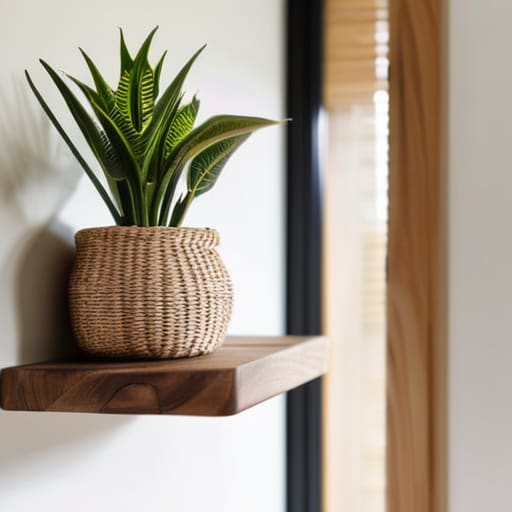
If you’re living in a shoebox like I was for years, you know the struggle: every square inch feels like it’s fighting for its life. The trick isn’t just buying more bins; it’s about looking up. I’m a huge advocate for utilizing vertical space because, honestly, your floor is already too crowded. I love using tension rods in tiny nooks or even mounting small floating shelves above door frames. These are some of my favorite small apartment storage hacks because they tuck things away without making the room feel even smaller.
Don’t sleep on the power of what you already have lying around, either. I’ve spent way too many Saturday mornings at thrift stores looking for unique vessels, but you can start right in your pantry. Instead of buying expensive organizers, try some repurposed container ideas—think empty glass jars for office supplies or even sturdy shoeboxes wrapped in aesthetic fabric to hide your tech cables. It’s all about budget friendly home organization that actually looks intentional rather than just messy.
Upcycled Storage Containers That Save Your Budget
Look, I’m a firm believer that you don’t need to drop a paycheck at a big-box home store to get your life together. In fact, some of my favorite setups come from things I almost threw in the recycling bin. If you’re looking for budget friendly home organization, start looking at your pantry and your recycling pile. Those glass pasta sauce jars? Once you peel the labels off, they are elite for storing loose items like hair ties, paperclips, or even spices. It’s one of those simple repurposed container ideas that actually looks intentional rather than just messy.
If you have some old tin cans or even sturdy cardboard boxes from your latest online shopping spree, don’t toss them just yet. A quick coat of matte spray paint or some leftover contact paper can turn a random tin can into a chic desk organizer. I’ve used these little hacks to keep my freelance workspace from looking like a disaster zone. Using upcycled storage containers isn’t just about saving money; it’s about making sure your stuff actually has a designated home without the “new product” price tag.
My Go-To Low-Effort DIY Storage Wins
- Stop ignoring your vertical space. I used to feel like my apartment was closing in on me until I started mounting simple floating shelves or even just using command hooks to hang everything from kitchen utensils to my tangled tech cables. If it can hang, it shouldn’t be taking up precious surface area on your desk or counters.
- Repurpose those aesthetic glass jars. Seriously, don’t toss those pasta sauce or jam jars after you’re done with them. Give them a quick soak, peel off the labels, and use them to organize your junk drawer, office supplies, or even bathroom essentials like cotton swabs. It looks intentional and curated rather than just “stuff in a box.”
- The “Shoe Box System” is a total lifesaver for drawers. Instead of letting your socks, chargers, or skincare products become a chaotic pile, use small cardboard boxes (like the ones from your latest online orders) as dividers. It’s a zero-dollar way to create custom compartments that actually keep things where they belong.
The Bottom Line on Staying Organized
Don’t go overboard on aesthetic bins; focus on finding functional, cheap solutions that actually fit your specific clutter before you spend a dime.
Think vertically—if you’re running out of floor space, look up at your walls and the undersides of your shelves to reclaim your room.
The Bottom Line
Look, we’ve covered a lot of ground today, from squeezing every inch of utility out of a tiny studio apartment to turning literal trash into chic, budget-friendly organizers. Whether you’re utilizing vertical space to stop the floor-clutter creep or upcycling old jars to keep your pantry from looking like a chaotic junk drawer, the goal is the same: functional simplicity. You don’t need a massive renovation or a huge budget to make your home work for you; you just need to stop fighting your environment and start working with what you’ve actually got.
At the end of the day, don’t let the “perfect” aesthetic of Pinterest paralyze you. Your home doesn’t need to look like a museum; it just needs to be a place where you can actually find your keys and breathe easily. Adulting is messy, and your storage solutions will probably evolve as your life does, but taking these small, DIY steps is a massive win for your mental health. Start small, stay practical, and remember that reclaiming your space is really about reclaiming your peace of mind.
Frequently Asked Questions
I really want to try this, but how do I know if a DIY shelf is actually going to hold my heavy books without collapsing?
That is the million-dollar question. I’ve definitely learned the hard way that a “cute” shelf isn’t worth it if it ends up as a pile of splintered wood on your floor. My rule of thumb? Check your hardware first. If you’re using basic plastic anchors in drywall, forget it—those books will win every time. Aim for heavy-duty wall anchors or, better yet, screw directly into a stud. If you can’t find a stud, go thicker with your wood.
Are there any specific tools or materials I should definitely invest in so I don't end up wasting money on a project that looks messy?
Look, I’ve definitely learned the hard way that “cheap” can get expensive fast if you’re buying junk. If you want your DIYs to look intentional rather than “craft store explosion,” invest in a decent cordless drill and a high-quality measuring tape. Also, don’t skimp on the finishing touches—a good sander and some actual wood glue make the difference between a project that looks like a hobby and one that looks like decor.