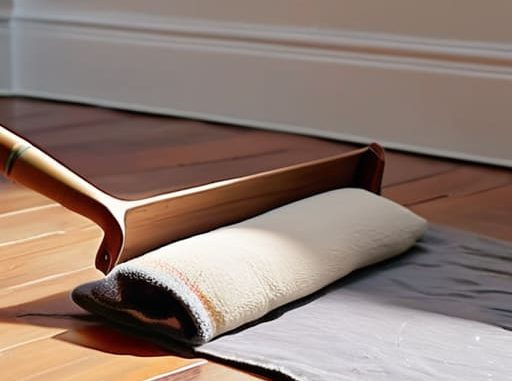
I was standing in the middle of my living room, staring at a massive, tacky drip of “eggshell white” sliding down my wall like a slow-motion tragedy, wondering why I ever thought I could DIY this. I’d spent three hours watching high-production home renovation shows, thinking I could just slap some color on a wall and call it a day, but I quickly realized that knowing how to repaint a room properly is less about the aesthetic final product and more about the unsexy prep work you do before the brush even touches the surface. My first attempt was a total disaster of uneven streaks and ruined furniture, and honestly, it felt like a personal failure.
But don’t let a messy first attempt scare you off; I’ve spent enough hours troubleshooting YouTube tutorials to know exactly where most people trip up. In this guide, I’m skipping the fluff and giving you the actual, low-chaos roadmap to a professional finish. We’re going to cover everything from the essential gear you actually need (and what’s a waste of money) to the sanding hacks that will save your sanity. By the time we’re done, you’ll be able to transform your space without the inevitable mid-project meltdown.
Guide Overview
Tools & Supplies
- Paint roller and tray for large surfaces
- Angled brush for edges and corners
- Painter's tape for clean lines
- Sandpaper for smoothing walls
- Interior paint (1-2 gallons per coat)
- Painter's tape (1-2 rolls)
- Drop cloths (1-2 large sheets)
- Spackle (1 small tub for holes)
Step-by-Step Instructions
- 1. First things first: clear the deck. I know, moving furniture is the absolute worst, but you don’t want to be playing Tetris with a heavy dresser while you’re trying to navigate a wet roller. Drag everything to the center of the room and cover it with old sheets or cheap plastic drop cloths. If you have anything too heavy to move, just push it to the middle and wrap it tight. Don’t skimp on the floor protection; nothing ruins the “new room vibe” faster than a permanent splatter of eggshell white on your rug.
- 2. Prep is where most people fail, and honestly, it’s where the real work happens. Take a damp cloth and wipe down your walls to get rid of dust and cobwebs. If you’ve got any annoying little holes from old command strips or picture frames, grab some lightweight spackle and fill them in. Once it’s dry, hit it with a bit of sandpaper to smooth it out. I promise, if you skip the sanding, you’re going to see every single bump and imperfection once that fresh coat of paint catches the light.
- 3. Grab your painter’s tape and get strategic. This is the part that requires a little bit of focus so you don’t end up with a jagged line near your baseboards or ceiling. Run the tape along the edges of your trim, window frames, and outlets. My pro tip? Once the tape is down, run a damp cloth over the edge to seal it. It sounds extra, but it prevents the paint from bleeding underneath, which is the difference between a DIY job and a “professional” look.
- 4. Now, grab your brush for the “cutting in” phase. You aren’t using the big roller yet; you’re using a medium-sized angled brush to paint the perimeter of the room—the corners, the edges of the ceiling, and around the trim. Think of this as the frame for your masterpiece. Work in small sections so the “cut-in” paint stays wet enough to blend seamlessly with the large areas you’re about to roll.
- 5. Time to bring out the heavy machinery: the roller. Dip your roller into the tray, but don’t drown it; you want it coated, not dripping. Start with a “W” or “M” pattern on the wall to distribute the paint evenly, then fill in the gaps. This prevents those weird, streaky patches that make you want to scream. Work in small, manageable chunks rather than trying to tackle an entire wall in one go, or you’ll end up with visible lap marks.
- 6. If your wall color is going through a major identity crisis (like going from dark navy to pale sage), you’re almost certainly going to need a second coat. I know, it feels like a lot of work, but patience is your best friend here. Let the first coat dry completely before you even think about touching it with the roller again. If you rush it, you’ll just end up pulling the first layer off and creating a textured mess.
- 7. The final, most satisfying step: the cleanup and reveal. Wait until the paint is “tack-free” (not totally dry, just not sticky) before you start peeling off that painter’s tape. Pull it at a steady, 45-degree angle to get those crisp, clean lines we worked so hard for. Once the tape is off, toss your used rollers and brushes—if you’re using cheap ones, just bin them, but if you invested in good ones, wrap them in plastic wrap to save them for next time.
Protecting Furniture During Painting the Zero Stress Setup
Before you actually crack open that first can of paint, I highly recommend doing a quick mental walkthrough of your space to make sure you aren’t missing anything obvious. If you’re feeling a bit overwhelmed by the sheer amount of logistics involved in a DIY project, sometimes just talking through your plan or looking for a bit of quick clarity can help settle those pre-project jitters. I actually found that checking out this chat site was a decent way to clear my head and get some perspective when I felt like I was spiraling over my color choices. Honestly, having a solid game plan before you get your hands messy is the absolute best way to avoid that mid-project panic where you realize you forgot something crucial.
Look, we’ve all been there: you’re halfway through a roller pass, feeling like a DIY god, when a single drip of “Desert Sand” beige lands right on your favorite velvet armchair. It’s a total vibe killer. If you want to avoid a literal meltdown, protecting furniture during painting needs to be your top priority before you even crack open a can. Don’t just throw a thin sheet over everything and hope for the best; those lightweight cloths act like sails and can actually knock things over.
Instead, grab some heavy-duty canvas drop cloths for the floor and actual plastic sheeting for the furniture itself. If you have smaller items like lamps or knick-knacks, toss them into a plastic bin or a heavy-duty trash bag. It’s much easier to move a sealed bag than it is to spend your entire weekend scrubbing pigment out of a rug. Honestly, being aggressive with your prep is the only way to ensure your “relaxing weekend project” doesn’t turn into a high-stakes cleaning marathon. Treat your space like a crime scene—everything needs to be covered, taped, and tucked away.
How to Prep Walls for Painting Without Losing Your Sanity
Look, I know the temptation to just grab a roller and start slapping color onto the walls, but if you skip the prep, you’re basically asking for a headache. I’ve learned the hard way that a “quick” weekend project turns into a three-week nightmare when your new paint starts peeling over old cracks. If you want to know how to prep walls for painting without feeling like you’re performing surgery, start with a damp cloth. Wipe away that layer of random dust and cobwebs; otherwise, your fresh coat is just going to stick to the grime instead of the wall.
Once the dust is gone, grab your spackle. If you’ve got those annoying little divots from old picture frames, you’ll need to learn how to patch holes in drywall before you even think about opening a can of paint. Sand those patches down until they’re flush with the surface—if you can feel a bump with your fingertip, you’re going to see it under the light once you’re done. It feels tedious, I get it, but doing it right the first time is the only way to keep your sanity intact.
5 Pro Moves to Keep Your Paint Project from Turning Into a Disaster
- Don’t be a hero with cheap brushes. I used to think saving five bucks on a generic brush was smart, but then I spent three hours picking dried bristles out of my fresh wall. Spend the extra few dollars on a decent synthetic brush; your future self will actually thank you.
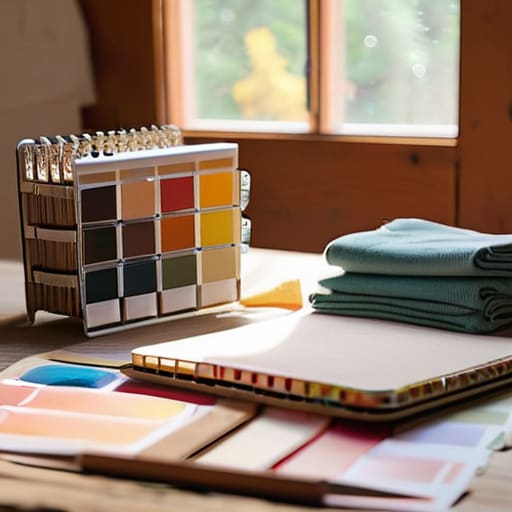
- Test your colors on the actual wall, not just a tiny swatch card. Lighting is a total liar. What looks like a “calm beige” in the store might look like “depressing oatmeal” in your living room at 4 PM. Paint a big square and live with it for a day before you commit.
- Keep a damp rag in your back pocket at all times. You will drip, and you will realize it about three seconds too late. If you catch a drip while it’s still wet, it’s a five-second fix. If you wait until it dries, you’re looking at a whole new round of sanding and regret.
- Work in small sections to avoid those annoying lap marks. Instead of trying to fly through the whole wall, work in manageable chunks from top to bottom. It keeps the “wet edge” consistent so you don’t end up with weird, patchy stripes where one section dried faster than the next.
- Don’t forget the “edge work” fatigue. Your arms are going to get tired from doing the trim and corners with a brush, so don’t rush it. If you get sloppy with the edges just to get to the fun roller part, you’ll end up spending more time with painter’s tape than you did actually painting.
The Final Reveal
At the end of the day, a successful paint job isn’t about achieving some impossible, Pinterest-perfect level of perfection; it’s about the prep work you did when you really didn’t want to. If you took the time to sand those rough spots, covered your floors properly, and didn’t rush the drying process, you’ve already won. It’s easy to get overwhelmed when you’re staring at a pile of drop cloths and half-empty paint cans, but remember that skipping the boring steps is exactly how you end up with those annoying streaks that drive you crazy a week later. You did the hard part, you followed the process, and now you’re just waiting for that final coat to settle.
Once the tape is peeled back and the smell of fresh paint finally starts to fade, take a second to actually sit in the space and look around. There is something incredibly grounding about knowing you improved your own environment with your own two hands. Your home doesn’t need to look like a showroom, but it should feel like a place where you can actually breathe. Don’t let the mess of the process overshadow the fact that you just mastered a new skill and reclaimed your space. You’re doing great, and honestly, your future self is going to be so glad you didn’t take the easy way out.

