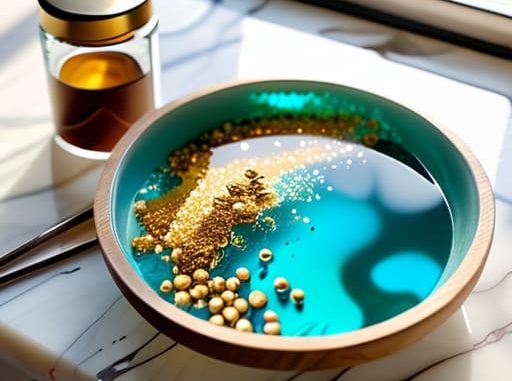
I was staring at a sticky, half-cured puddle of goo on my kitchen table, wondering why my “aesthetic” DIY project looked more like a science experiment gone wrong, when I realized something: most tutorials make this look way easier than it actually is. Everyone tells you that starting resin crafts for beginners is just about mixing two liquids and hoping for the best, but they conveniently skip over the part where you accidentally ruin a $20 mold or end up with a mountain of bubbles that look like unwanted Swiss cheese.
I’m not here to sell you on a lifestyle you can’t afford or a hobby that requires a professional lab setup. Instead, I’m breaking down the actual, messy reality of getting started without the unnecessary stress. I’ll show you how to pick the right supplies without overspending, how to avoid the most common rookie mistakes, and how to actually get a crystal-clear finish the first time around. Let’s get into it so you can start creating stuff that actually looks good on your shelf.
Guide Overview
Tools & Supplies
- Silicone molds for shaping the resin
- Mixing cups for combining components
- Wooden stir sticks for blending
- Heat gun or lighter to remove bubbles
- Epoxy resin kit (2-part resin and hardener)
- Silicone pigment or glitter for coloring
- Safety gloves and respirator mask for protection
Step-by-Step Instructions
- 1. First things first: set up your workspace like you’re preparing for a minor science experiment. Resin is unforgiving, so clear off a flat surface and lay down a silicone mat or some cheap plastic sheeting. If you get a drip on your wooden desk, it’s basically a permanent part of your decor, and trust me, you don’t want that.
- 2. Grab your gear and gear up properly. You’re going to need your resin and hardener, mixing cups, stir sticks, and—this is the non-negotiable part—nitrile gloves. I know, it feels a bit extra, but resin is a chemical, and your skin will thank you later. Also, if you’re working in a small apartment like I do, crack a window; ventilation is your best friend here.
- 3. Now, let’s talk the actual mixing, because this is where most people trip up. Follow the ratio on your specific bottle to the letter. If it says 1:1, don’t eyeball it. Pour the resin and hardener into your cup and stir slowly for at least three full minutes. You’re looking for a crystal-clear consistency without those annoying little tiny bubbles that make everything look cloudy.
- 4. Once your mix is looking smooth, it’s time to get creative. Pour your resin into your molds, and if you’re adding glitter, dried flowers, or charms, add them in stages. I like to pour a thin base layer, let it set for a few minutes, then drop my decorations in. This prevents everything from just sinking to the bottom and looking like a cluttered mess.
- 5. If you see a bunch of tiny bubbles floating on the surface, don’t panic. Take a handheld lighter or a heat gun and quickly pass it over the top of the resin. The heat will pop those bubbles instantly, leaving you with a glass-like finish that looks professional instead of DIY-gone-wrong.
- 6. This is the hardest part for me: the waiting game. Cover your molds with a cardboard box or something similar to keep dust and pet hair from landing in your masterpiece, and then leave them alone. Depending on the brand, this could take anywhere from 12 to 24 hours. Resist the urge to poke it; patience is literally the most important tool in your kit.
- 7. Once the resin feels hard and isn’t tacky to the touch, pop your creations out of the molds. If the edges feel a little sharp or uneven, you can give them a quick sand with some high-grit sandpaper. It’s a tiny bit of extra work, but it makes the whole piece feel expensive and intentional rather than just something you slapped together.
Essential Resin Art Supplies to Skip the Overwhelming Shopping Trip
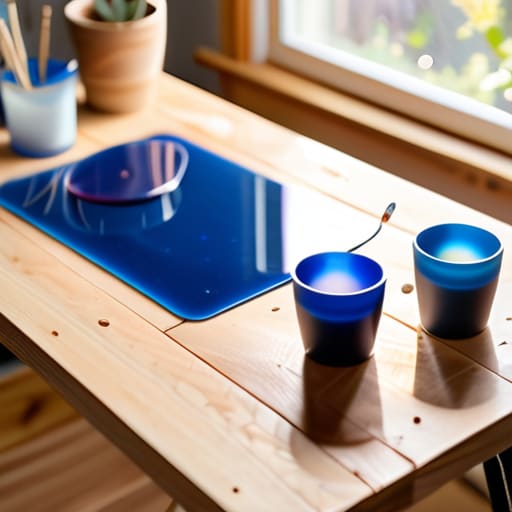
Honestly, the biggest mistake I see people make is wandering into a craft store and coming out with $100 worth of stuff they’ll never touch again. You don’t need a professional studio; you just need the right basics to keep things from getting messy. Start with a solid kit of essential resin art supplies—think silicone mats (to save your table from permanent damage) and a handful of graduated mixing cups. If you’re planning on making earrings or small charms, look specifically for the best epoxy resin for jewelry making, as it tends to be clearer and more durable for those tiny, intricate details.
Also, let’s talk about the stuff that actually matters for your health. Please, do not skip the resin safety equipment for beginners. I’m talking about a decent respirator mask and nitrile gloves. Resin fumes are no joke, and trust me, you don’t want to be feeling lightheaded halfway through a project. Grab a small butane torch or a heat gun, too; it’s a total game-changer for how to prevent resin bubbles from ruining your hard work. Keep it simple, keep it safe, and you’ll save yourself a massive headache later.
Choosing the Best Epoxy Resin for Jewelry Making Without the Stress
Honestly, walking into a craft store and seeing fifty different bottles of resin is enough to make anyone want to turn around and walk right back out. When you’re looking for the best epoxy resin for jewelry making, you really want something that has a low viscosity—basically, you want it thin enough to flow easily into those tiny, intricate details without getting stuck. I used to buy the cheapest stuff I could find, only to realize it was way too thick and ended up looking cloudy. Aim for a “casting resin” if you’re doing deeper pieces, but for dainty earrings or pendants, a standard jewelry-grade epoxy is your best friend.
Also, please don’t ignore the fine print on the packaging. Most beginners get tripped up because they don’t realize that resin mixing ratios explained on the bottle are non-negotiable; if you don’t get that 1:1 or 2:1 ratio exactly right, your jewelry will stay tacky forever. It’s super frustrating to spend three hours on a piece only to have it turn into a sticky mess. Take an extra minute to be precise with your measurements—your future, non-sticky self will thank you.
Three Ways to Avoid a Total Resin Meltdown
- Trust the timer, not your gut. Resin is finicky, and if you try to rush the curing process because you’re impatient to see the final result, you’re going to end up with a sticky, tacky mess that’s basically impossible to fix. Set a timer on your phone and actually walk away from the workspace—it’s the only way to ensure it sets properly.
- Level your workspace or prepare to cry. I learned this the hard way: if your table is even slightly tilted, your resin is going to migrate to one side of your mold, leaving you with a lopsided, uneven piece of art. Use a bubble level app on your phone to check your surface before you even open the bottles.
- Master the art of the slow stir. It’s tempting to whip the resin like you’re making a protein shake, but that just traps a million tiny bubbles in there that will haunt your finished piece forever. Stir slowly, steadily, and patiently—think of it more like a meditative ritual than a race.
The TL;DR on Starting Your Resin Journey
Don’t let the supply lists intimidate you—start with just the basics (resin, hardener, and a few molds) and focus on getting your ratios right before you go full-blown craft store enthusiast.
Safety isn’t optional, so please, for the love of your lungs, work in a ventilated space and wear your gear from the very first pour.
Final Thoughts Before You Pour
Honestly, once you’ve got your essential supplies sorted and you’ve picked a resin that won’t leave you staring at a cloudy mess, the hard part is actually over. Just remember to prioritize your workspace setup—ventilation and a level surface are non-negotiable if you want to avoid a total meltdown. Don’t get too hung up on buying every single glitter jar in the aisle right away; start small, master the basics of your chosen epoxy, and let your collection grow as you get more comfortable with the process.
At the end of the day, resin art is supposed to be your creative outlet, not another item on your overwhelming to-do list. You’re going to have some bubbles, maybe a few lopsided coasters, and definitely some unexpected spills, but that’s just part of the learning curve. The goal isn’t perfection; it’s about the satisfying ritual of making something from scratch. So, grab your gear, clear some space on your desk, and just start pouring. You’ve totally got this.
Frequently Asked Questions
How do I deal with those annoying tiny bubbles that keep popping up in my resin?
Ugh, the bubble struggle is so real. It’s like they wait until you’re finished to show up. First, let your resin sit for a few minutes after mixing—it gives those micro-bubbles time to rise. When you’re pouring, go slow; don’t just dump it in. If they’re still being stubborn, hit the surface with a quick pass of a heat gun or a butane torch. It’s a total game-changer for that crystal-clear finish.
Is it actually safe to do resin crafts in my small apartment, or do I need a dedicated studio space?
Look, I grew up in a tiny apartment, so I get the anxiety. You don’t need a studio, but you do need to respect the fumes. If you’re working in a small space, ventilation is non-negotiable—crack a window or grab a small desk fan. Most importantly, invest in a decent respirator mask. Don’t just rely on a paper one. As long as you have airflow and a dedicated “mess zone,” you’re good to go.

