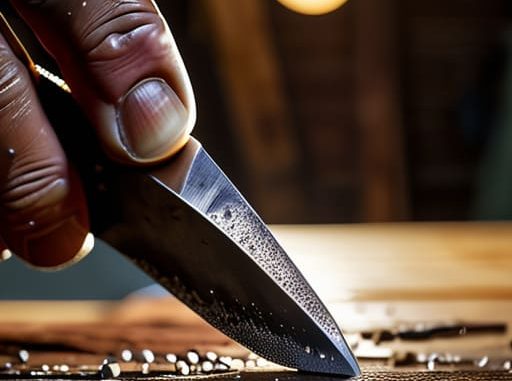
I was halfway through trying to prune my dying monstera when my shears decided to give up on life entirely, hacking away at the stems like they were made of thick cardboard instead of leaves. It’s that specific, soul-crushing moment of realization: you aren’t actually bad at DIY, your equipment is just failing you. Most people think you need an expensive workshop or a professional service to fix this, but honestly, learning how to sharpen tools is one of those low-stakes skills that keeps you from throwing your entire toolkit in the trash in a fit of rage.
I’m not here to give you a lecture on industrial metallurgy or suggest you buy a thousand dollars worth of whetstones. Instead, I’m breaking down the no-nonsense methods I’ve picked up from years of trial, error, and way too many YouTube tutorials. We’re going to cover the easiest, most efficient ways to get a razor-sharp edge on your basics so you can stop fighting your gear and actually get things done.
Guide Overview
Tools & Supplies
- Utility knife or chisel (primary metal edge)
- Sharpening stone (medium and fine grits)
- Whetstone (1 unit)
- Honing oil or water (1 bottle)
- Microfiber cloth (1 unit)
Step-by-Step Instructions
- 1. First things first, you need to figure out what kind of edge you’re actually working with. If you’re dealing with a kitchen knife, you’ll want a whetstone; if it’s a garden trowel or a heavy-duty screwdriver, a metal file is your best friend. Just don’t wing it with a random rock you found in the backyard—that’s a one-way ticket to a ruined tool and a very frustrated afternoon.
- 2. Once you’ve got your gear, clean the tool like it’s your job. I’m talking soap, water, and a quick dry to get rid of any old grease, rust, or mystery grime from that last project. You want a completely clean surface so you aren’t just grinding old dirt into the metal, which is a total waste of your limited energy.
- 3. If you’re using a whetstone, soak it in water for about ten minutes until the bubbles stop. This creates that thin layer of slurry that actually helps the sharpening process. If you’re using a file, just make sure it’s clean and secure. I usually clamp my work down if I can, because trying to hold a tool steady with one hand while filing with the other is a recipe for a minor ER visit.
- 4. Now for the actual movement: find the angle. Most decent knives sit at about a 15 to 20-degree angle, which is roughly the height of a matchbook held against the side. Hold the tool firmly and push it across the abrasive surface in a smooth, consistent motion. Think of it like a rhythmic glide rather than a frantic scrubbing session; consistency is everything here.
- 5. You’ll know you’re making progress when you start to feel a tiny “burr” forming on the opposite side of the edge. It’s this microscopic lip of metal that tells you you’ve actually reached the edge. It might feel a little weird under your thumb, but don’t panic—it’s actually a sign that you’re doing exactly what you’re supposed to be doing.
- 6. To finish it off, you need to “hone” the edge to smooth out that burr and get it razor-sharp. Switch to the finer side of your stone (or a lighter stroke with your file) and repeat the motion with even less pressure. This is the part that turns a “working” tool into a actually satisfying tool that makes your chores feel significantly less like a battle.
- 7. Give it a final wipe down and a quick drop of mineral oil if it’s a kitchen tool or something prone to rust. I like to keep a little bottle of oil in my utility drawer because a little bit of preventative maintenance goes a long way in saving you money on replacements later. Now, go test it on a piece of paper—if it slices through without snagging, you’re officially a pro.
Mastering Whetstone Sharpening Techniques for Instant Results
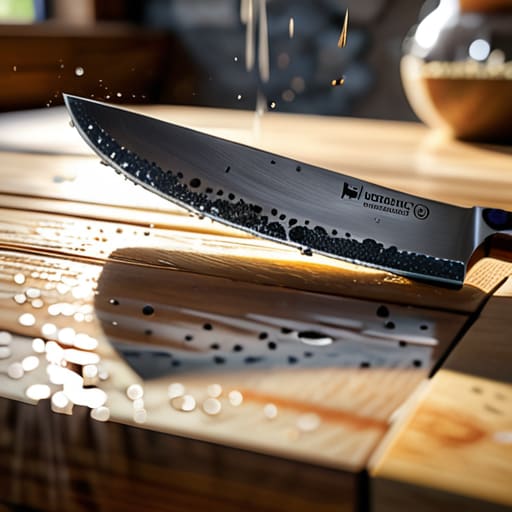
If you’re feeling a little intimidated by a whetstone, trust me, I was too. I used to think I needed a professional workshop to get a decent edge, but once you get the hang of a few basic whetstone sharpening techniques, it’s actually kind of therapeutic. The biggest hurdle is usually finding that sweet spot with your sharpening angle for different blades. For most kitchen knives, you’re aiming for about 15 to 20 degrees—think the angle of a piece of toast in a toaster. If you go too steep, you’re just grinding away metal without actually creating a fine edge, and if you’re too shallow, you’ll never get that crisp, clean cut we’re all after.
One thing I wish someone had told me sooner is that a whetstone isn’t just a one-and-done tool; it’s about maintaining edge retention over the long haul. I like to keep a fine-grit stone on hand for quick touch-ups between deep sharpening sessions. Also, don’t forget to invest in some best sharpening accessories, like a rubber base to keep the stone from sliding around your counter. There is nothing more stressful than a stone slipping mid-stroke when you’re trying to focus. Keep it steady, keep it wet, and you’ll stop fighting your gear and start actually enjoying it.
Choosing the Best Sharpening Accessories to Save Your Sanity
Look, I’ve learned the hard way that buying the cheapest thing you find at a big-box store usually just means you’ll be buying it again in six months. If you want to actually spend less time fighting your equipment and more time using it, you need to invest in the best sharpening accessories that actually do the heavy lifting for you. I’m talking about decent quality honing steels or even a simple electric sharpener if you’re truly short on patience. Honestly, understanding the difference between honing steel vs sharpening stone is the ultimate game-changer; one is for maintaining that edge you already have, while the other is for when things have gone seriously south.
Don’t forget about the little things that make a huge difference in the long run. I always keep a small bottle of mineral oil and some fine-grit sandpaper in my kit, especially when I’m cleaning rusted garden tools that have been sitting in the shed since last summer. It’s much easier to prevent a tool from becoming a total disaster than it is to perform surgery on it later. A little bit of prep work now means you won’t be stuck in a crisis management loop every time you need to get a project done.
Pro-Tips to Keep You From Making a Mess of It
- Don’t go overboard with the pressure. I know it’s tempting to really lean into it when you’re frustrated with a blunt blade, but you’ll actually end up ruining the edge. Think of it like a light, consistent massage for your tool—steady, rhythmic pressure is your best friend here.
- Keep things wet (or oiled). Whether you’re using a water stone or an oil stone, never try to sharpen a dry tool. It creates metal dust that gets everywhere and makes the whole process way more abrasive than it needs to be. A little lubrication goes a long way in keeping the metal smooth.
- Test your edge on something soft first. Before you dive into your big DIY project, grab a scrap piece of cardboard or even a piece of paper. If it slices through without snagging, you’re golden. If not, you’re not done yet—don’t risk your fingers or your project by assuming it’s ready.
The TL;DR on Keeping Your Gear Sharp
Don’t wait for a tool to become completely useless before you fix it; a little bit of regular maintenance saves you from the frustration of a failed DIY project later.
You don’t need a professional workshop to get the job done, just the right basic accessories and a little bit of patience to avoid the headache of fighting a dull blade.
The Final Edge
At the end of the day, sharpening your tools isn’t just about making a blade cut better; it’s about reducing the friction in your daily tasks. Whether you’re using a high-end whetstone for precision or just picking up a few essential accessories to keep things simple, the goal is to stop fighting your equipment. We’ve covered how to choose the right gear and the actual technique to get that edge back, so you can stop struggling with dull metal and start actually finishing your projects without the frustration.
I know that “adulting” often feels like a never-ending cycle of fixing things that break, but mastering these small, practical skills is how you reclaim your time. You don’t need a professional workshop to be capable; you just need the right mindset and a little bit of patience. Don’t let a dull tool become a reason to procrastinate. Grab your gear, take a breath, and remember that small wins lead to big momentum. You’ve totally got this.
Frequently Asked Questions
Is it actually safe to sharpen my expensive kitchen knives myself, or am I just going to ruin them?
Look, I get it. When you’ve dropped way too much money on a decent chef’s knife, the idea of touching it with a stone feels like a high-stakes gamble. Honestly? It’s safe if you actually take the time to learn the angle. If you rush it or go rogue with a cheap pull-through sharpener, yeah, you might nick the edge. But with a little patience and a steady hand, you’re actually preserving them.
How often do I actually need to do this before it becomes a chore?
Honestly, don’t turn this into a scheduled chore or you’ll start avoiding it entirely. My rule of thumb? Listen to the tool, not the calendar. If you’re slicing an onion and it feels like you’re sawing through a piece of wood, that’s your cue. For stuff I use daily, like my kitchen knives, I usually do a quick touch-up once a month. If it’s a heavy-duty tool, just sharpen it when it starts acting moody.

